Action Nodes
Prerequisites
The N2 Core modules, N2 Action module and the built-in Contacts module must be installed.
If you have not installed the N2 modules yet, please refer to the Quick Start guide.
Complete the Simple Workflow tutorial.
Please refer to the Simple Workflow tutorial to understand the basics for creating N2 workflow.
Controlling Model’s Action With OnActionTriggerNode
In this section, you will create simple workflows that record debug log information in the ir.logging table using CodeServerActionStarterNode and display a message using NotifyNode every time the action is executed.
For these workflows, you will work on the Contact model, therefore all the Model field of the nodes must be set to Contact.
- Create a new graph.
- Add
StartNodeandCodeServerActionStarterNodeand connect them.CodeServerActionStarterNodeis an auxiliary node, so it connects to the auxiliary port of theStartNode, not to the input port of theStartNode. - Set the
Namefield of theCodeServerActionStarterNodetoaction_log_a_message. - Paste the following to the
Codeinput dialogCodeServerActionStarterNode: - Save and process the graph.
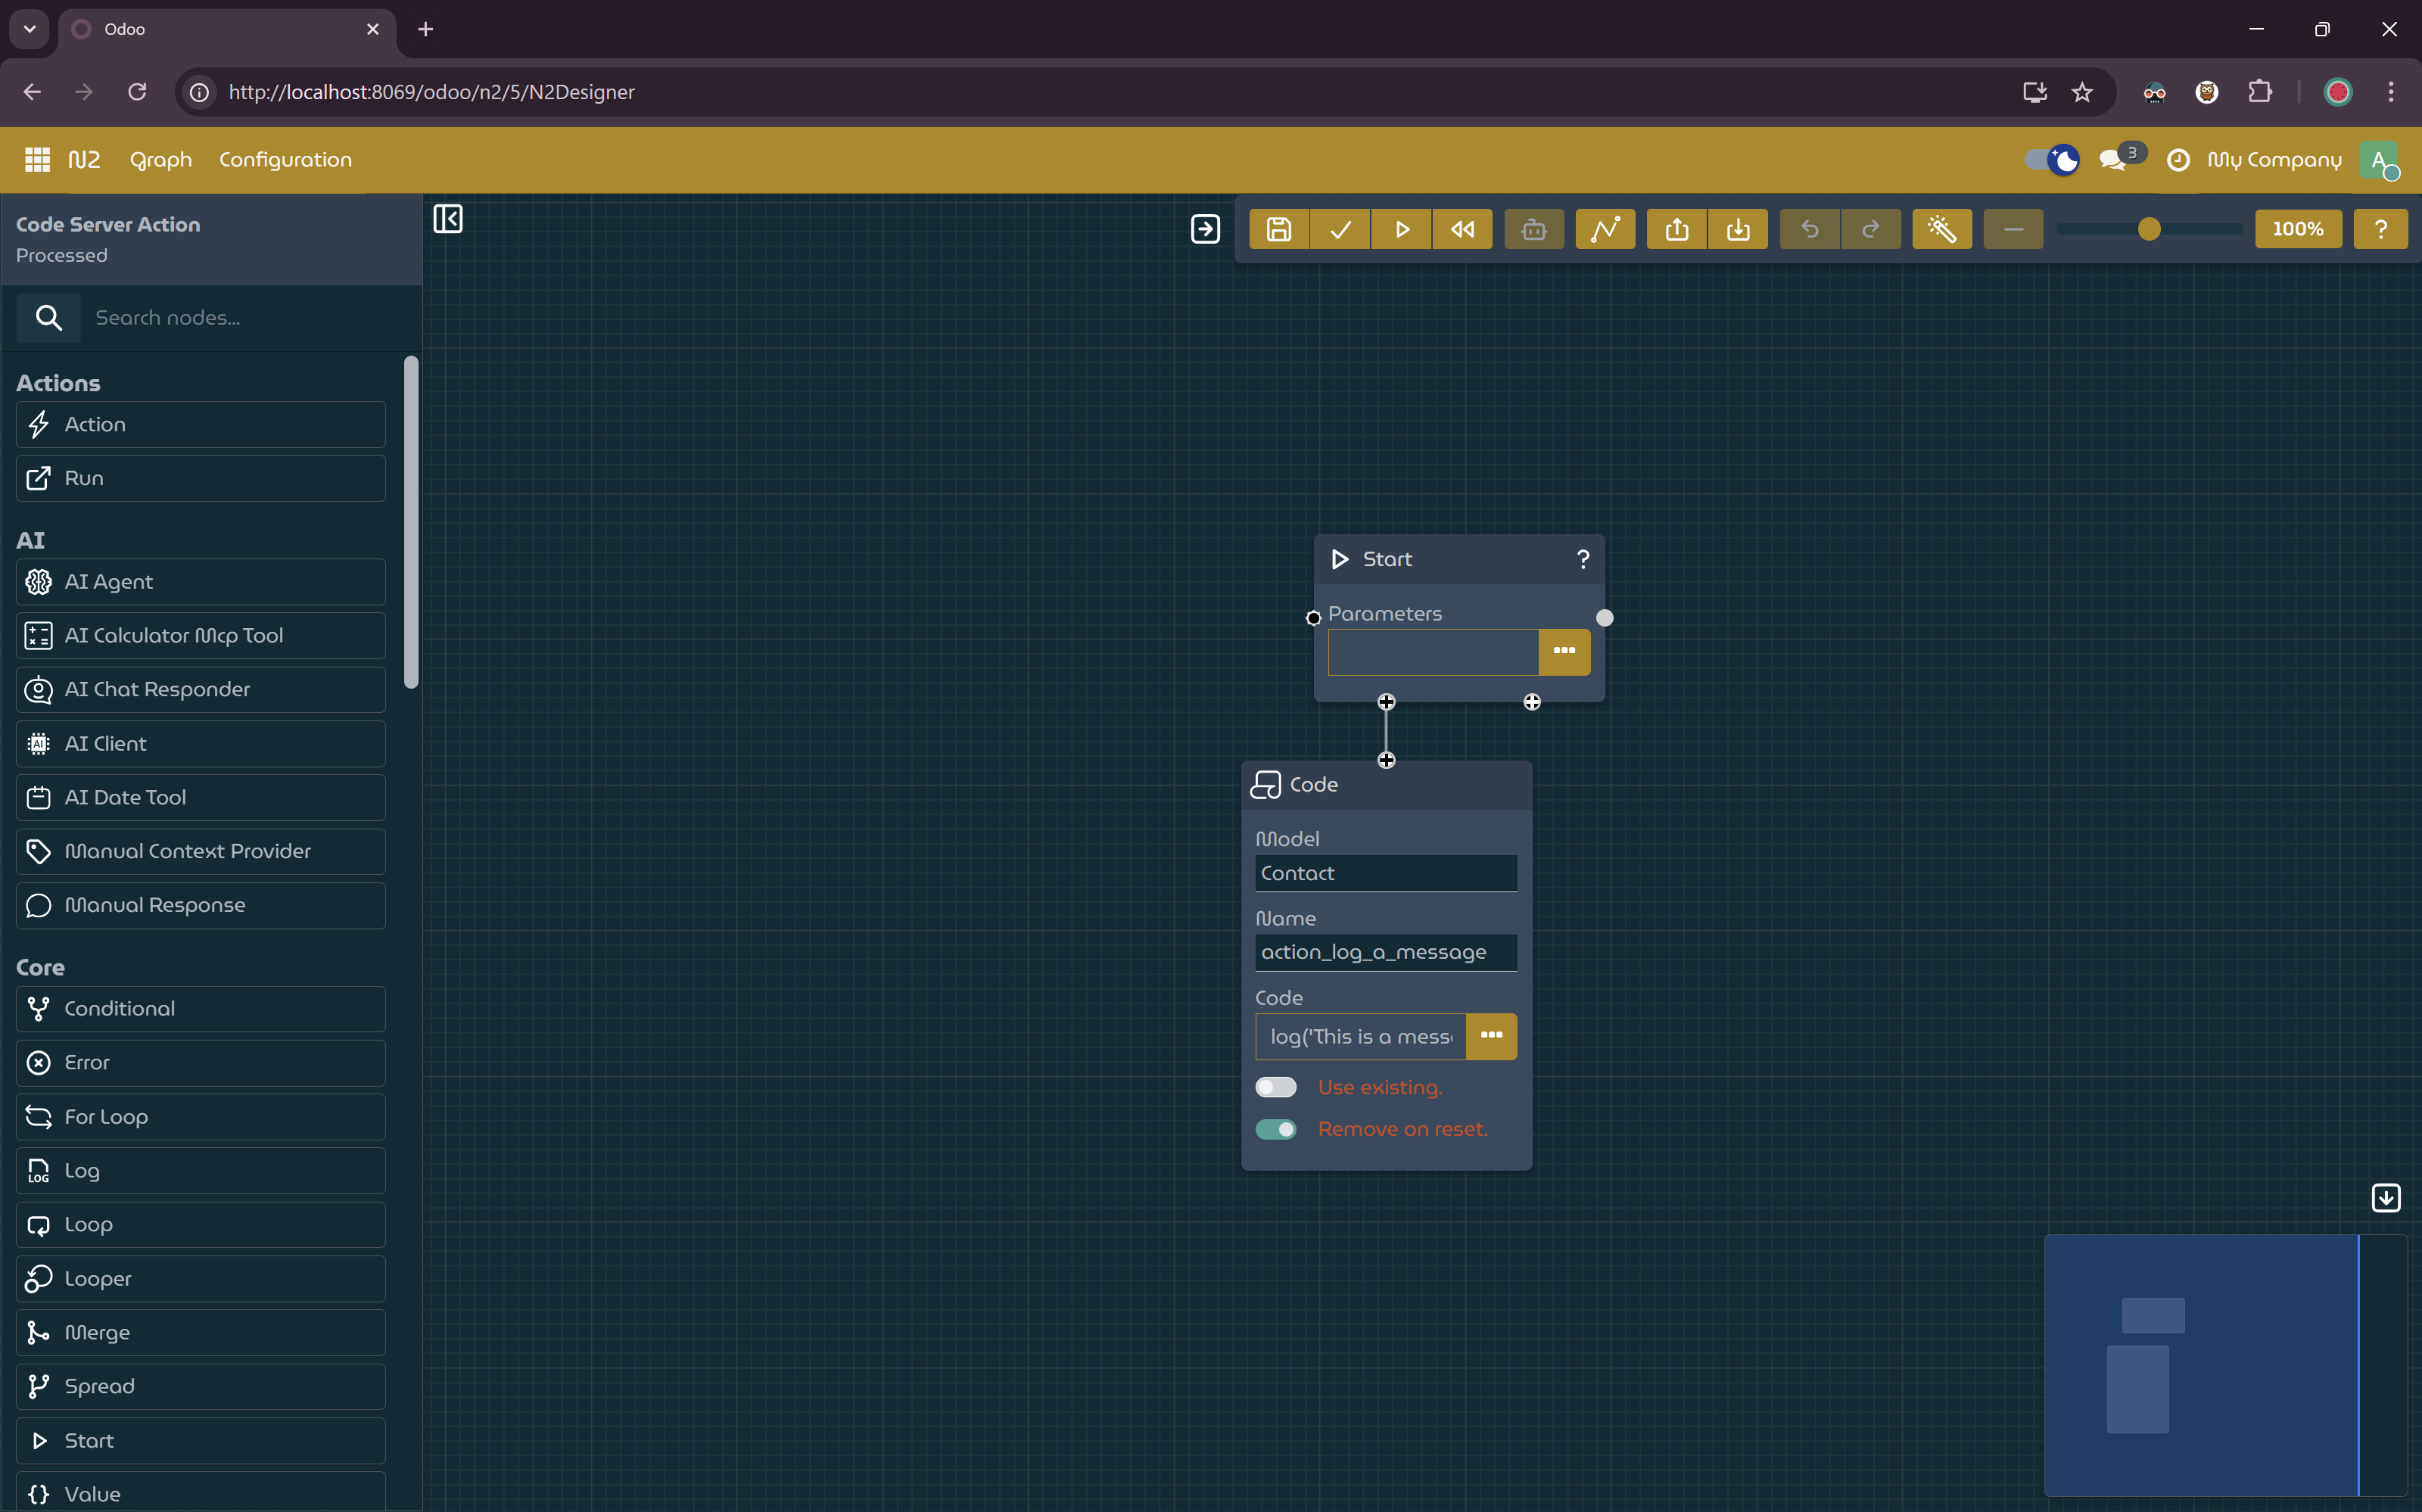
Code server action node.
- Create another graph.
- Add
OnActionTriggerNode,StartNode,NotifyNode,SetValueNodeand connect these nodes. - Set the
Actionfield of theOnActionTriggerNodetoaction_log_a_message. - Paste the following to the
Templateinput dialog of theNotifyNode: - Paste the following to the
Valueinput dialog of theSetValueNode: - Save and process the graph.
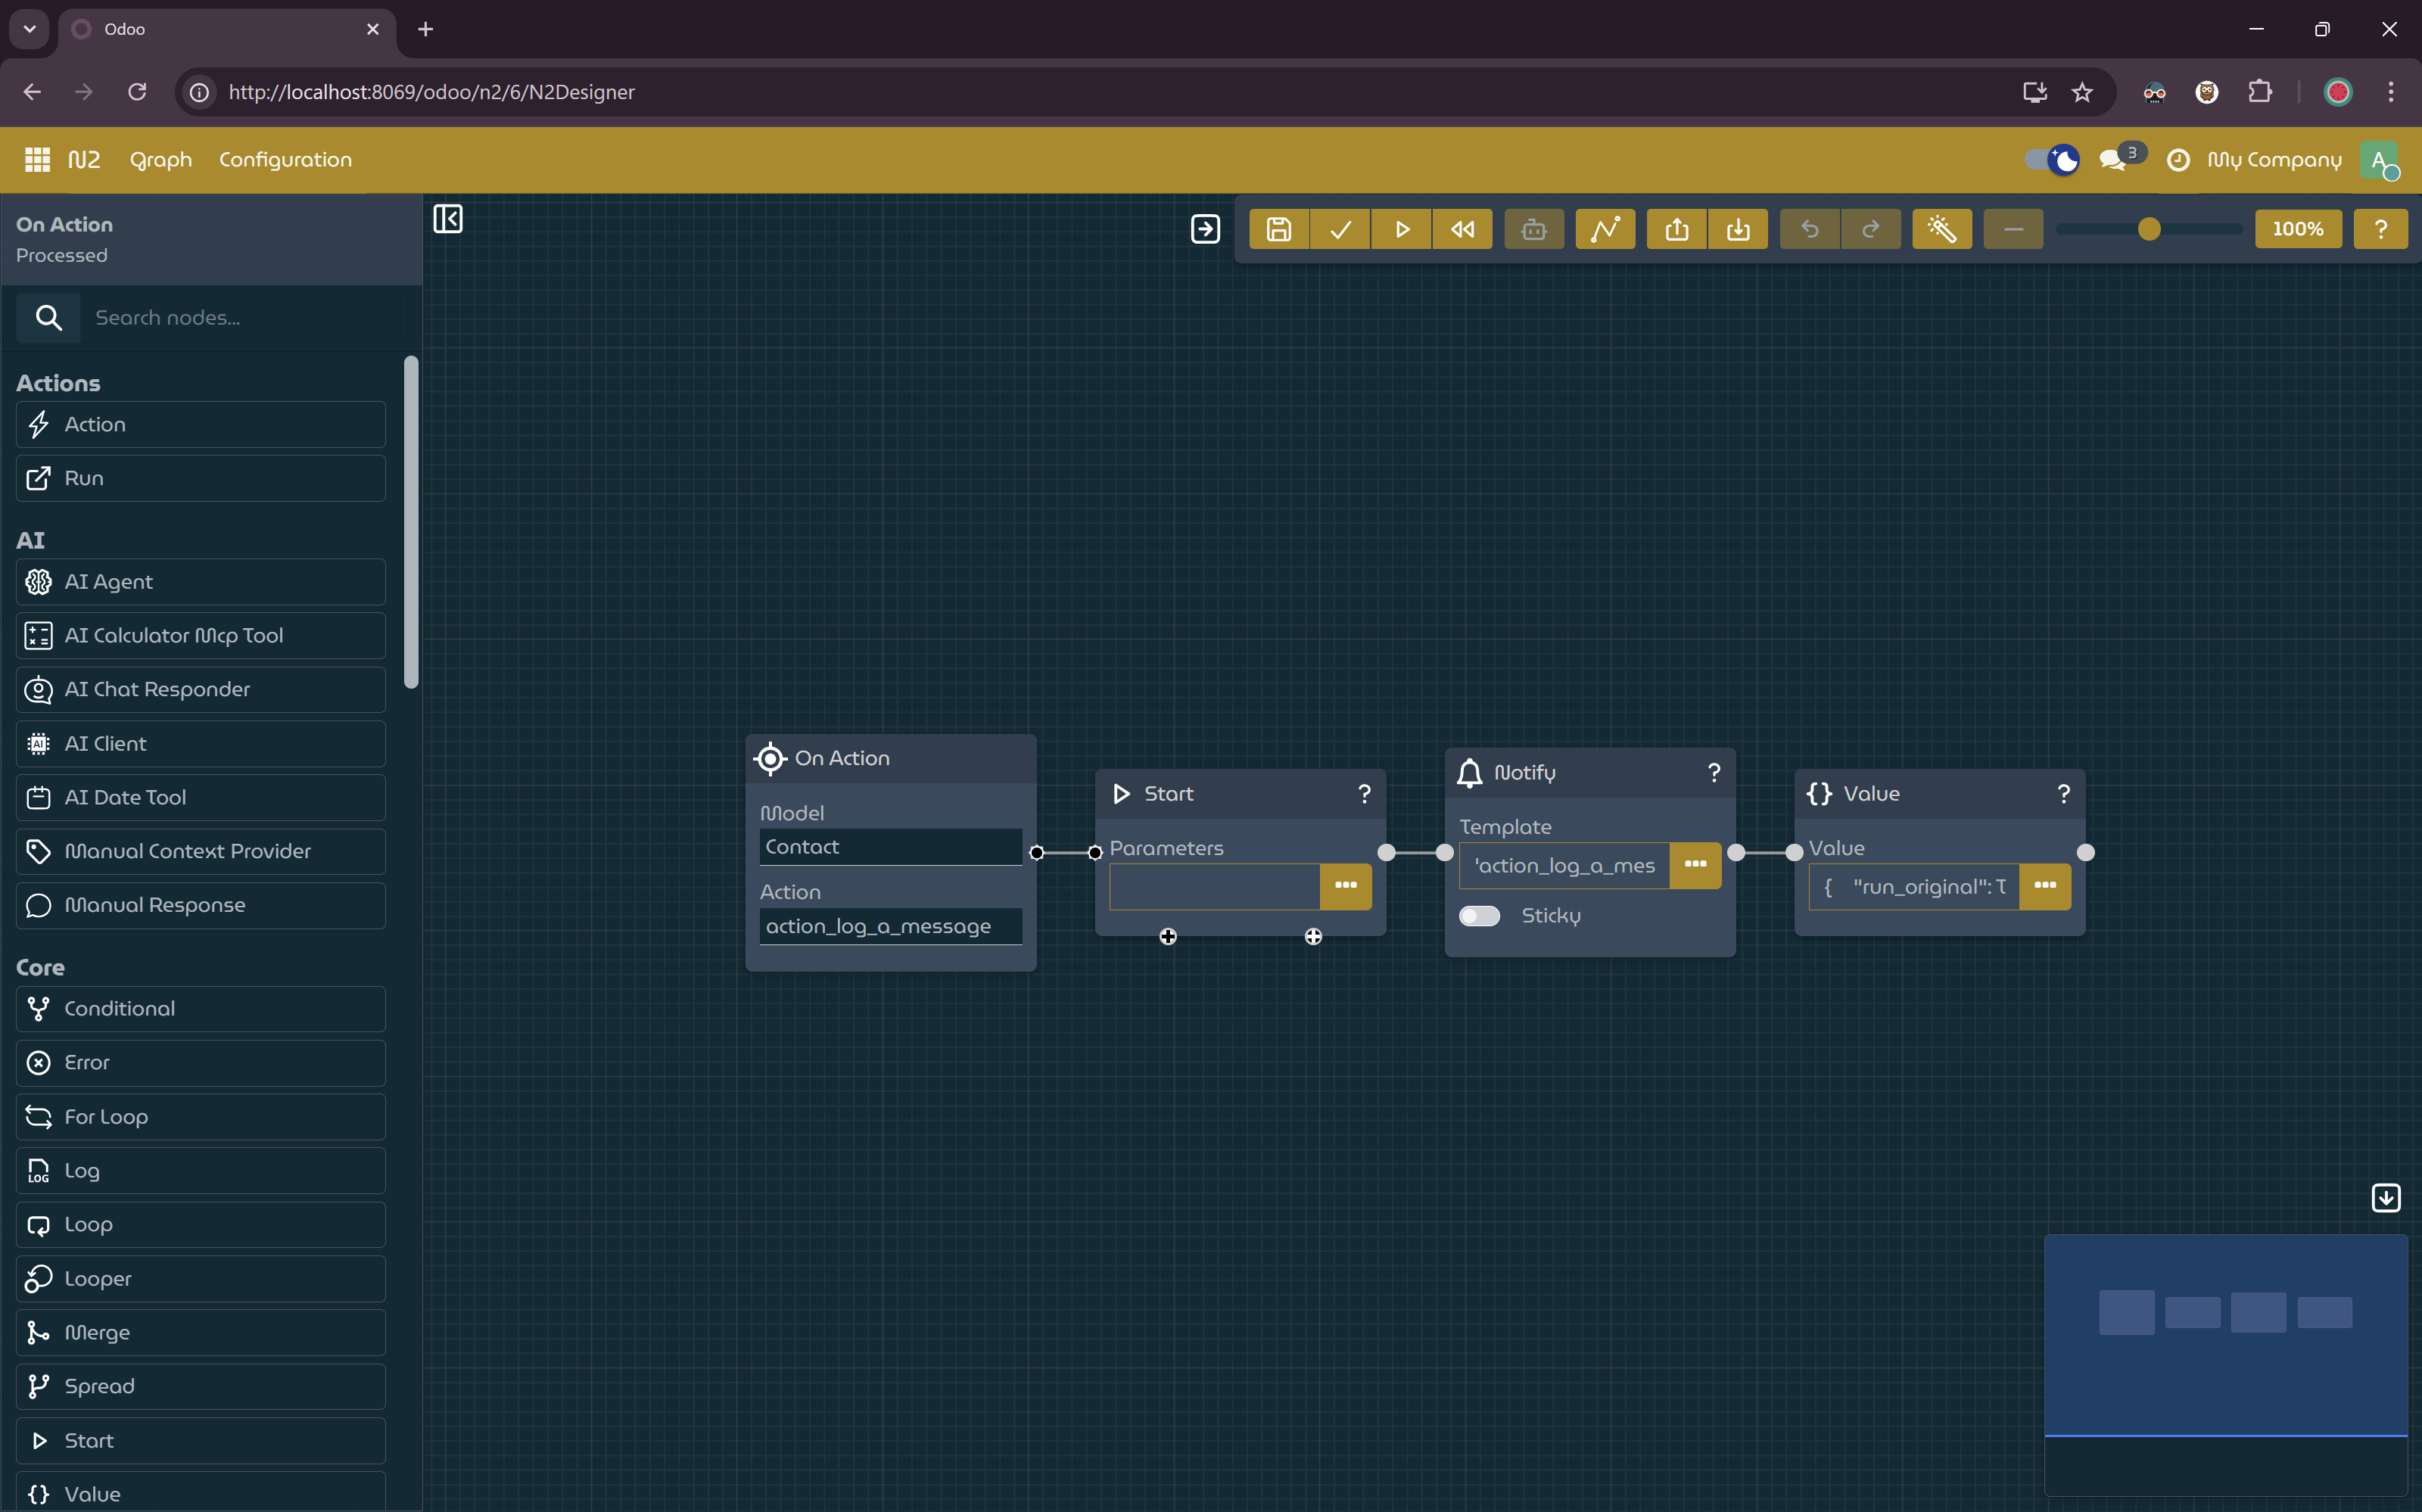
Workflow to respond to server action execution event.
- Create another graph.
- Add
StartNode,ViewHeaderStarterNode,FormActionButtonStarterNodeand connect them. - Set the
Viewfield of theViewHeaderStarterNodetores.partner.form. - Set the
Actionfield of theFormActionButtonStarterNodetoaction_log_a_message. - Set the
Captionfield of theFormActionButtonStarterNodetoLog A Message. - Save and process the graph.
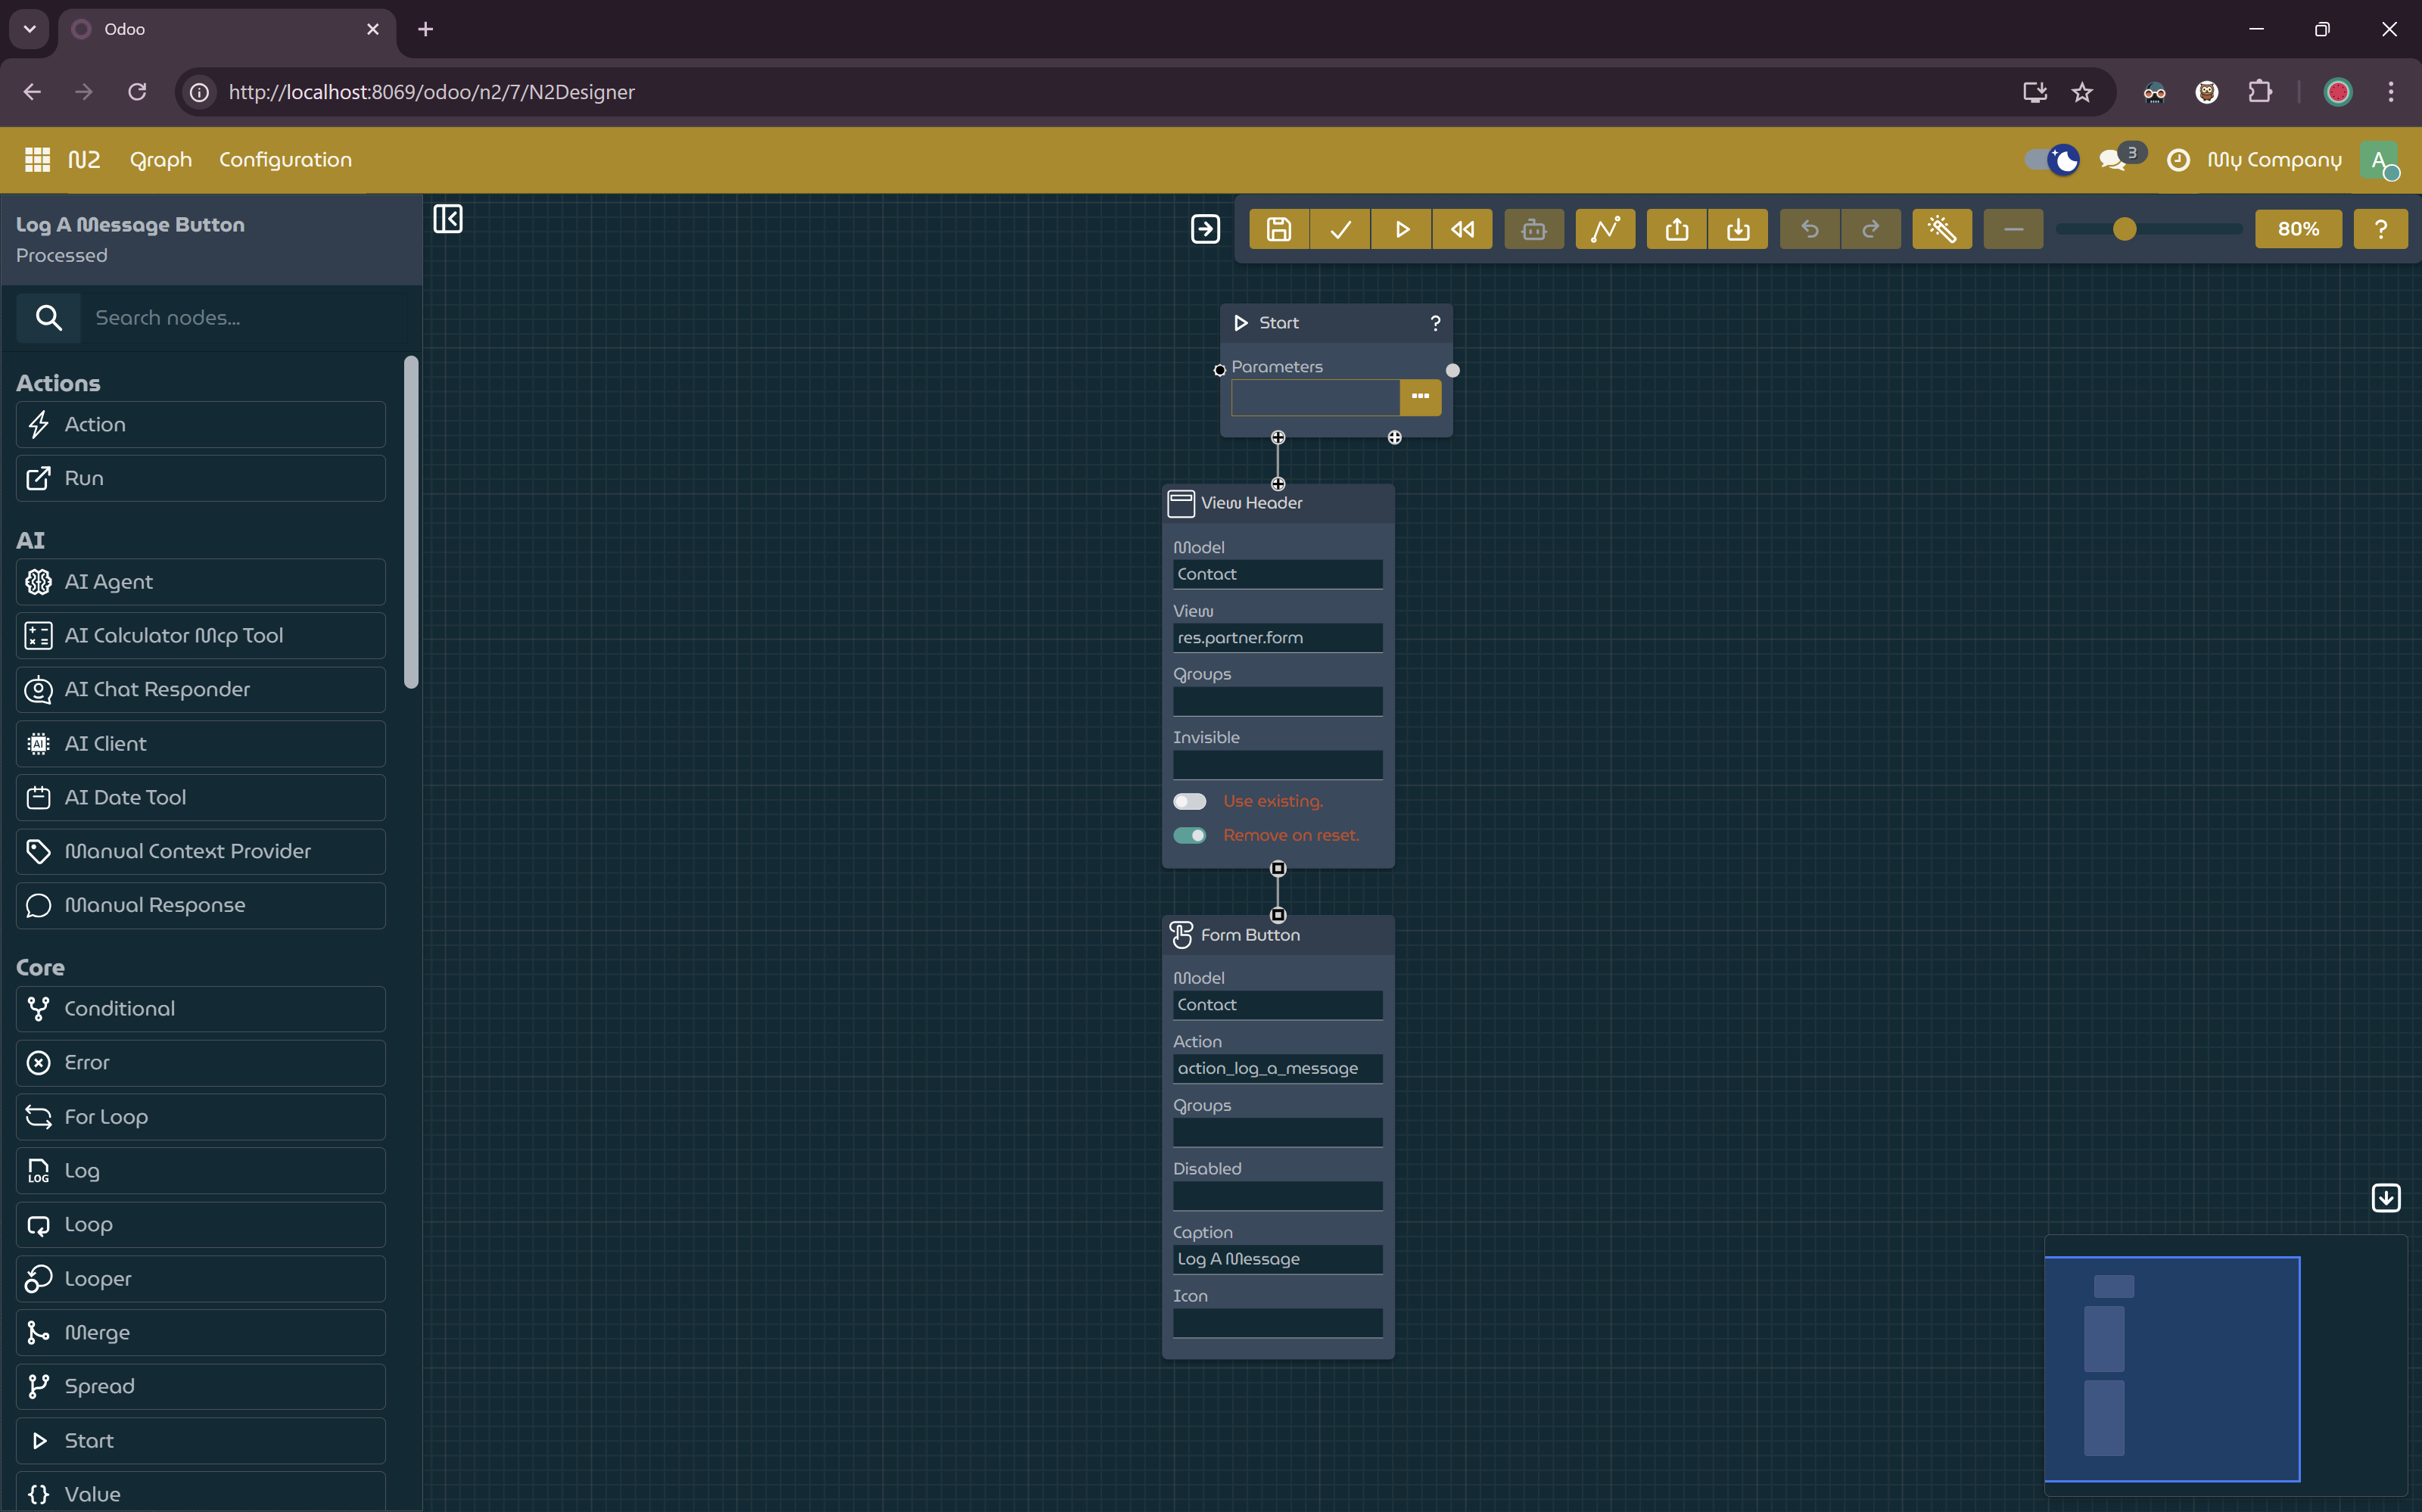
Workflow for creating button to Contact form.
- Open a contact via Contact form.
- There should be a
Log A Messagebutton. A notification should be displayed when the button is clicked.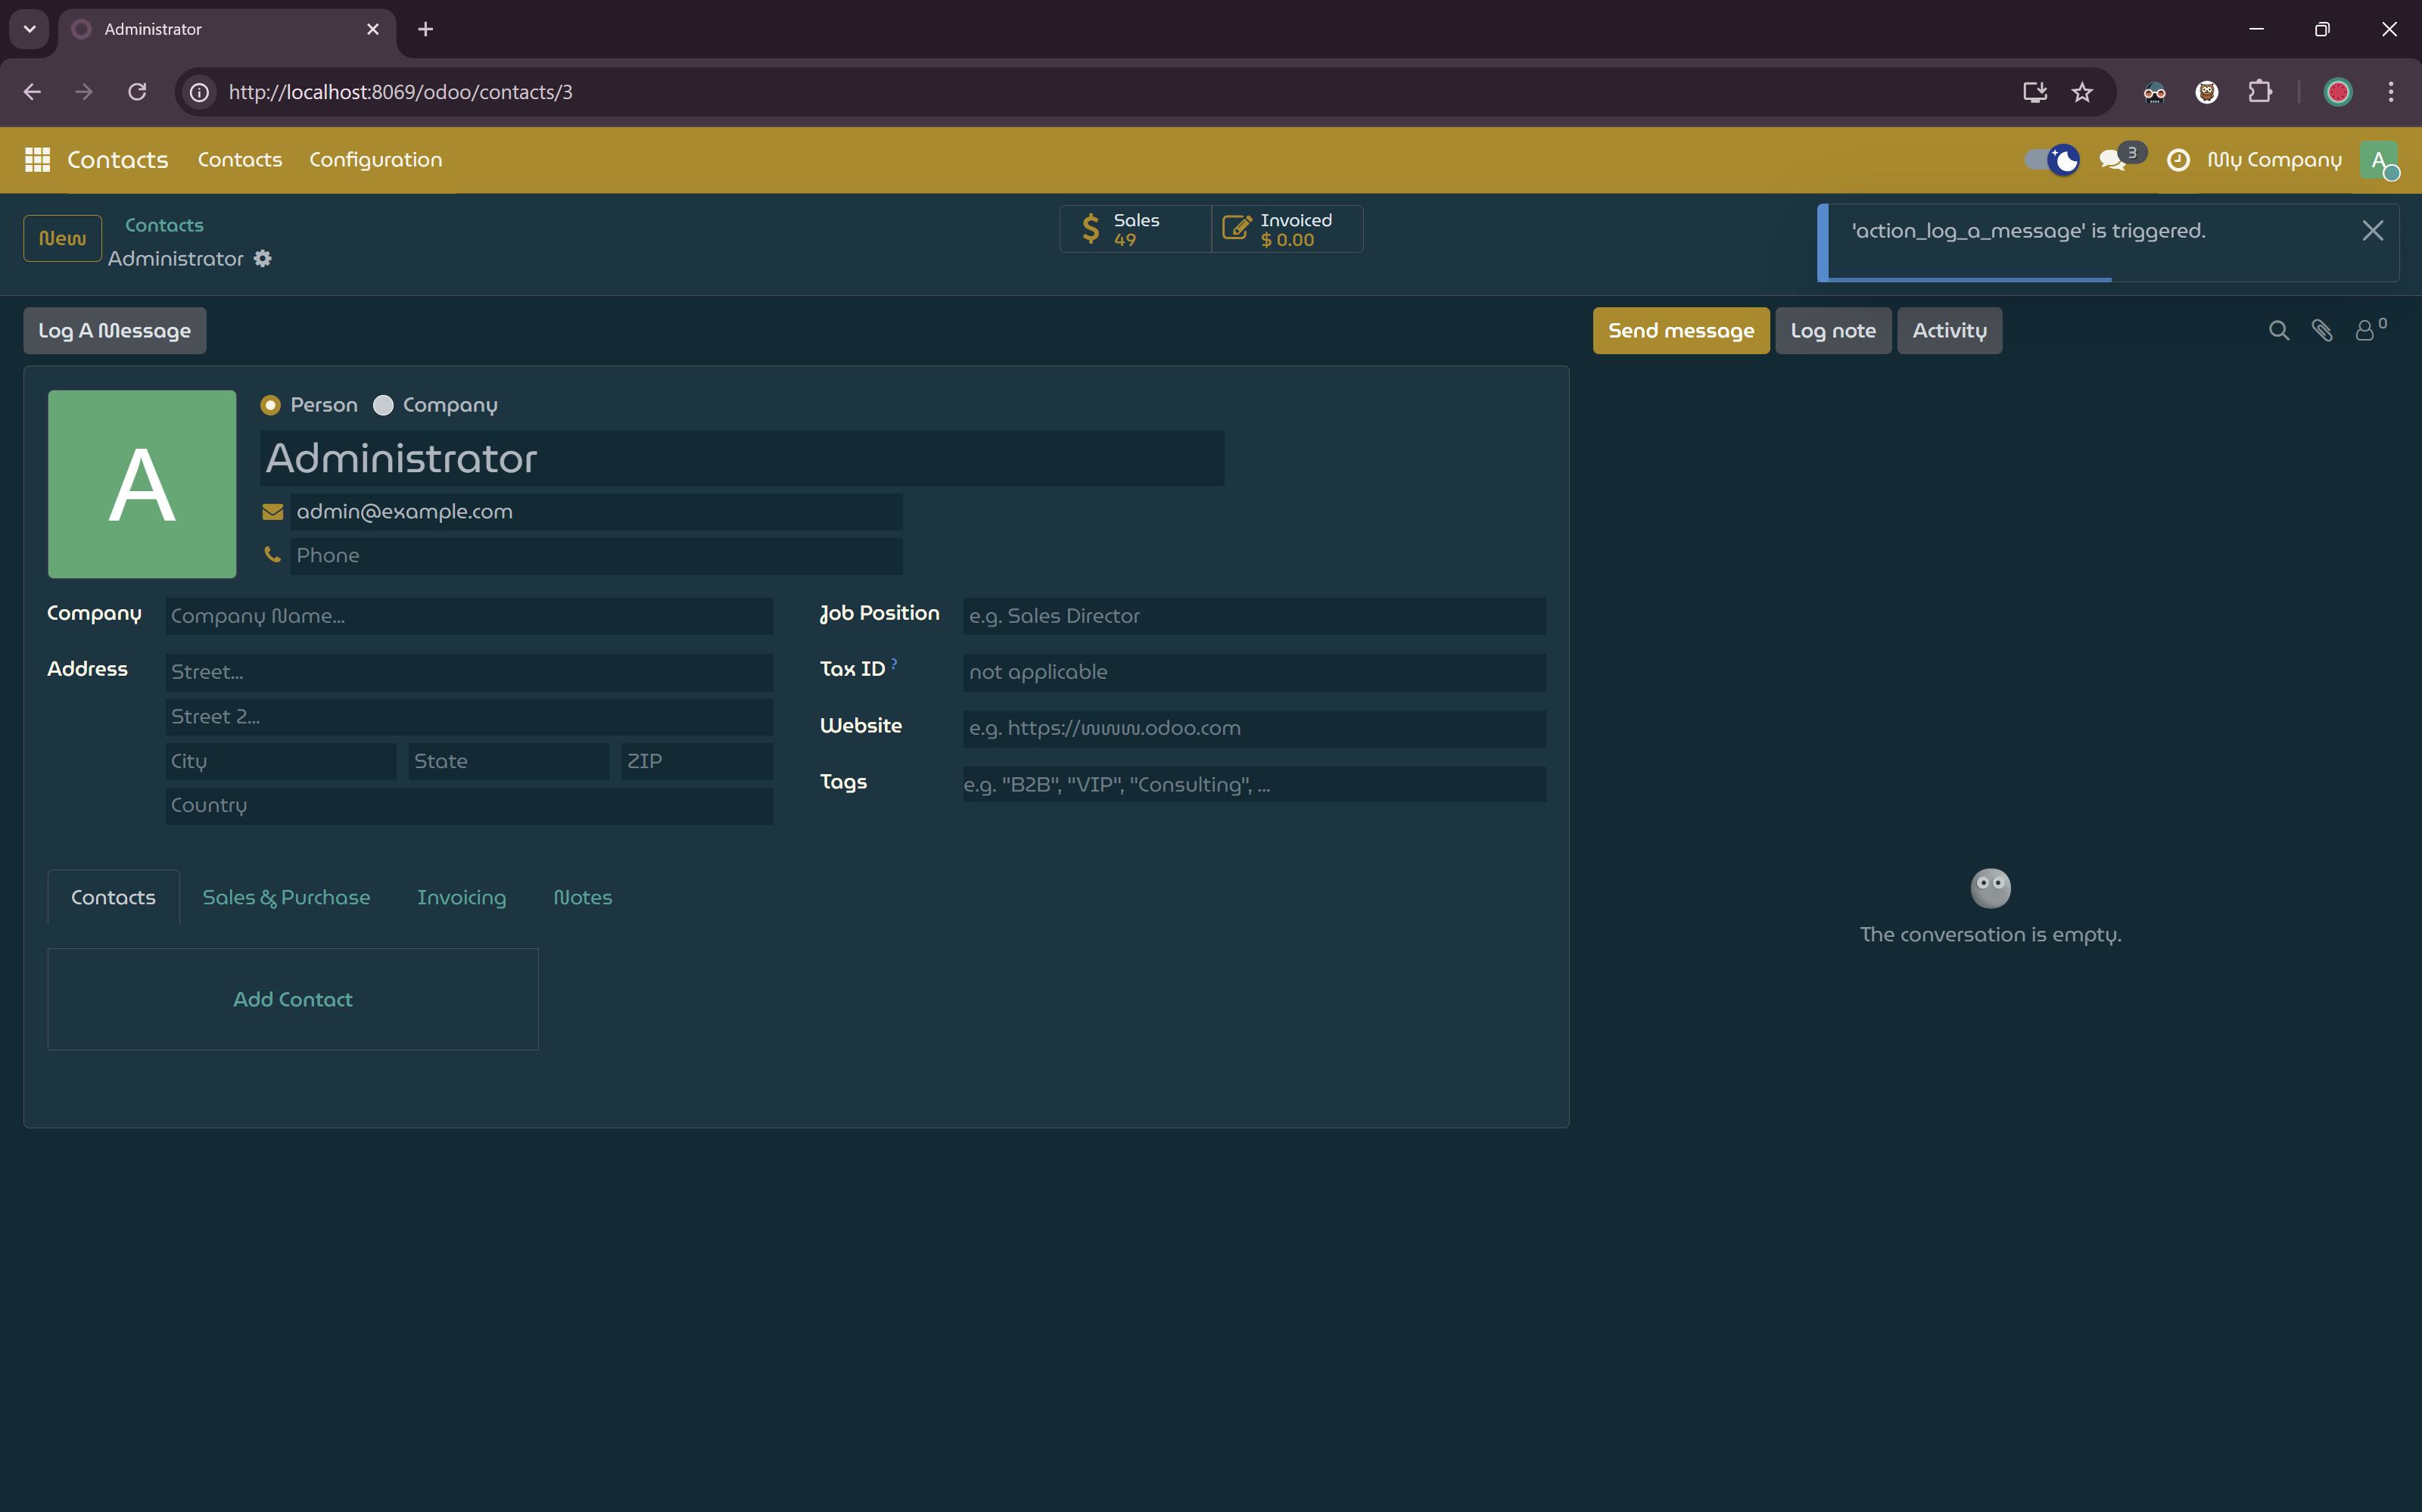
Notification from the server action.
- Go to Settings -> Technical -> Logging. A new record should be added whenever you click the
Log A Messagebutton.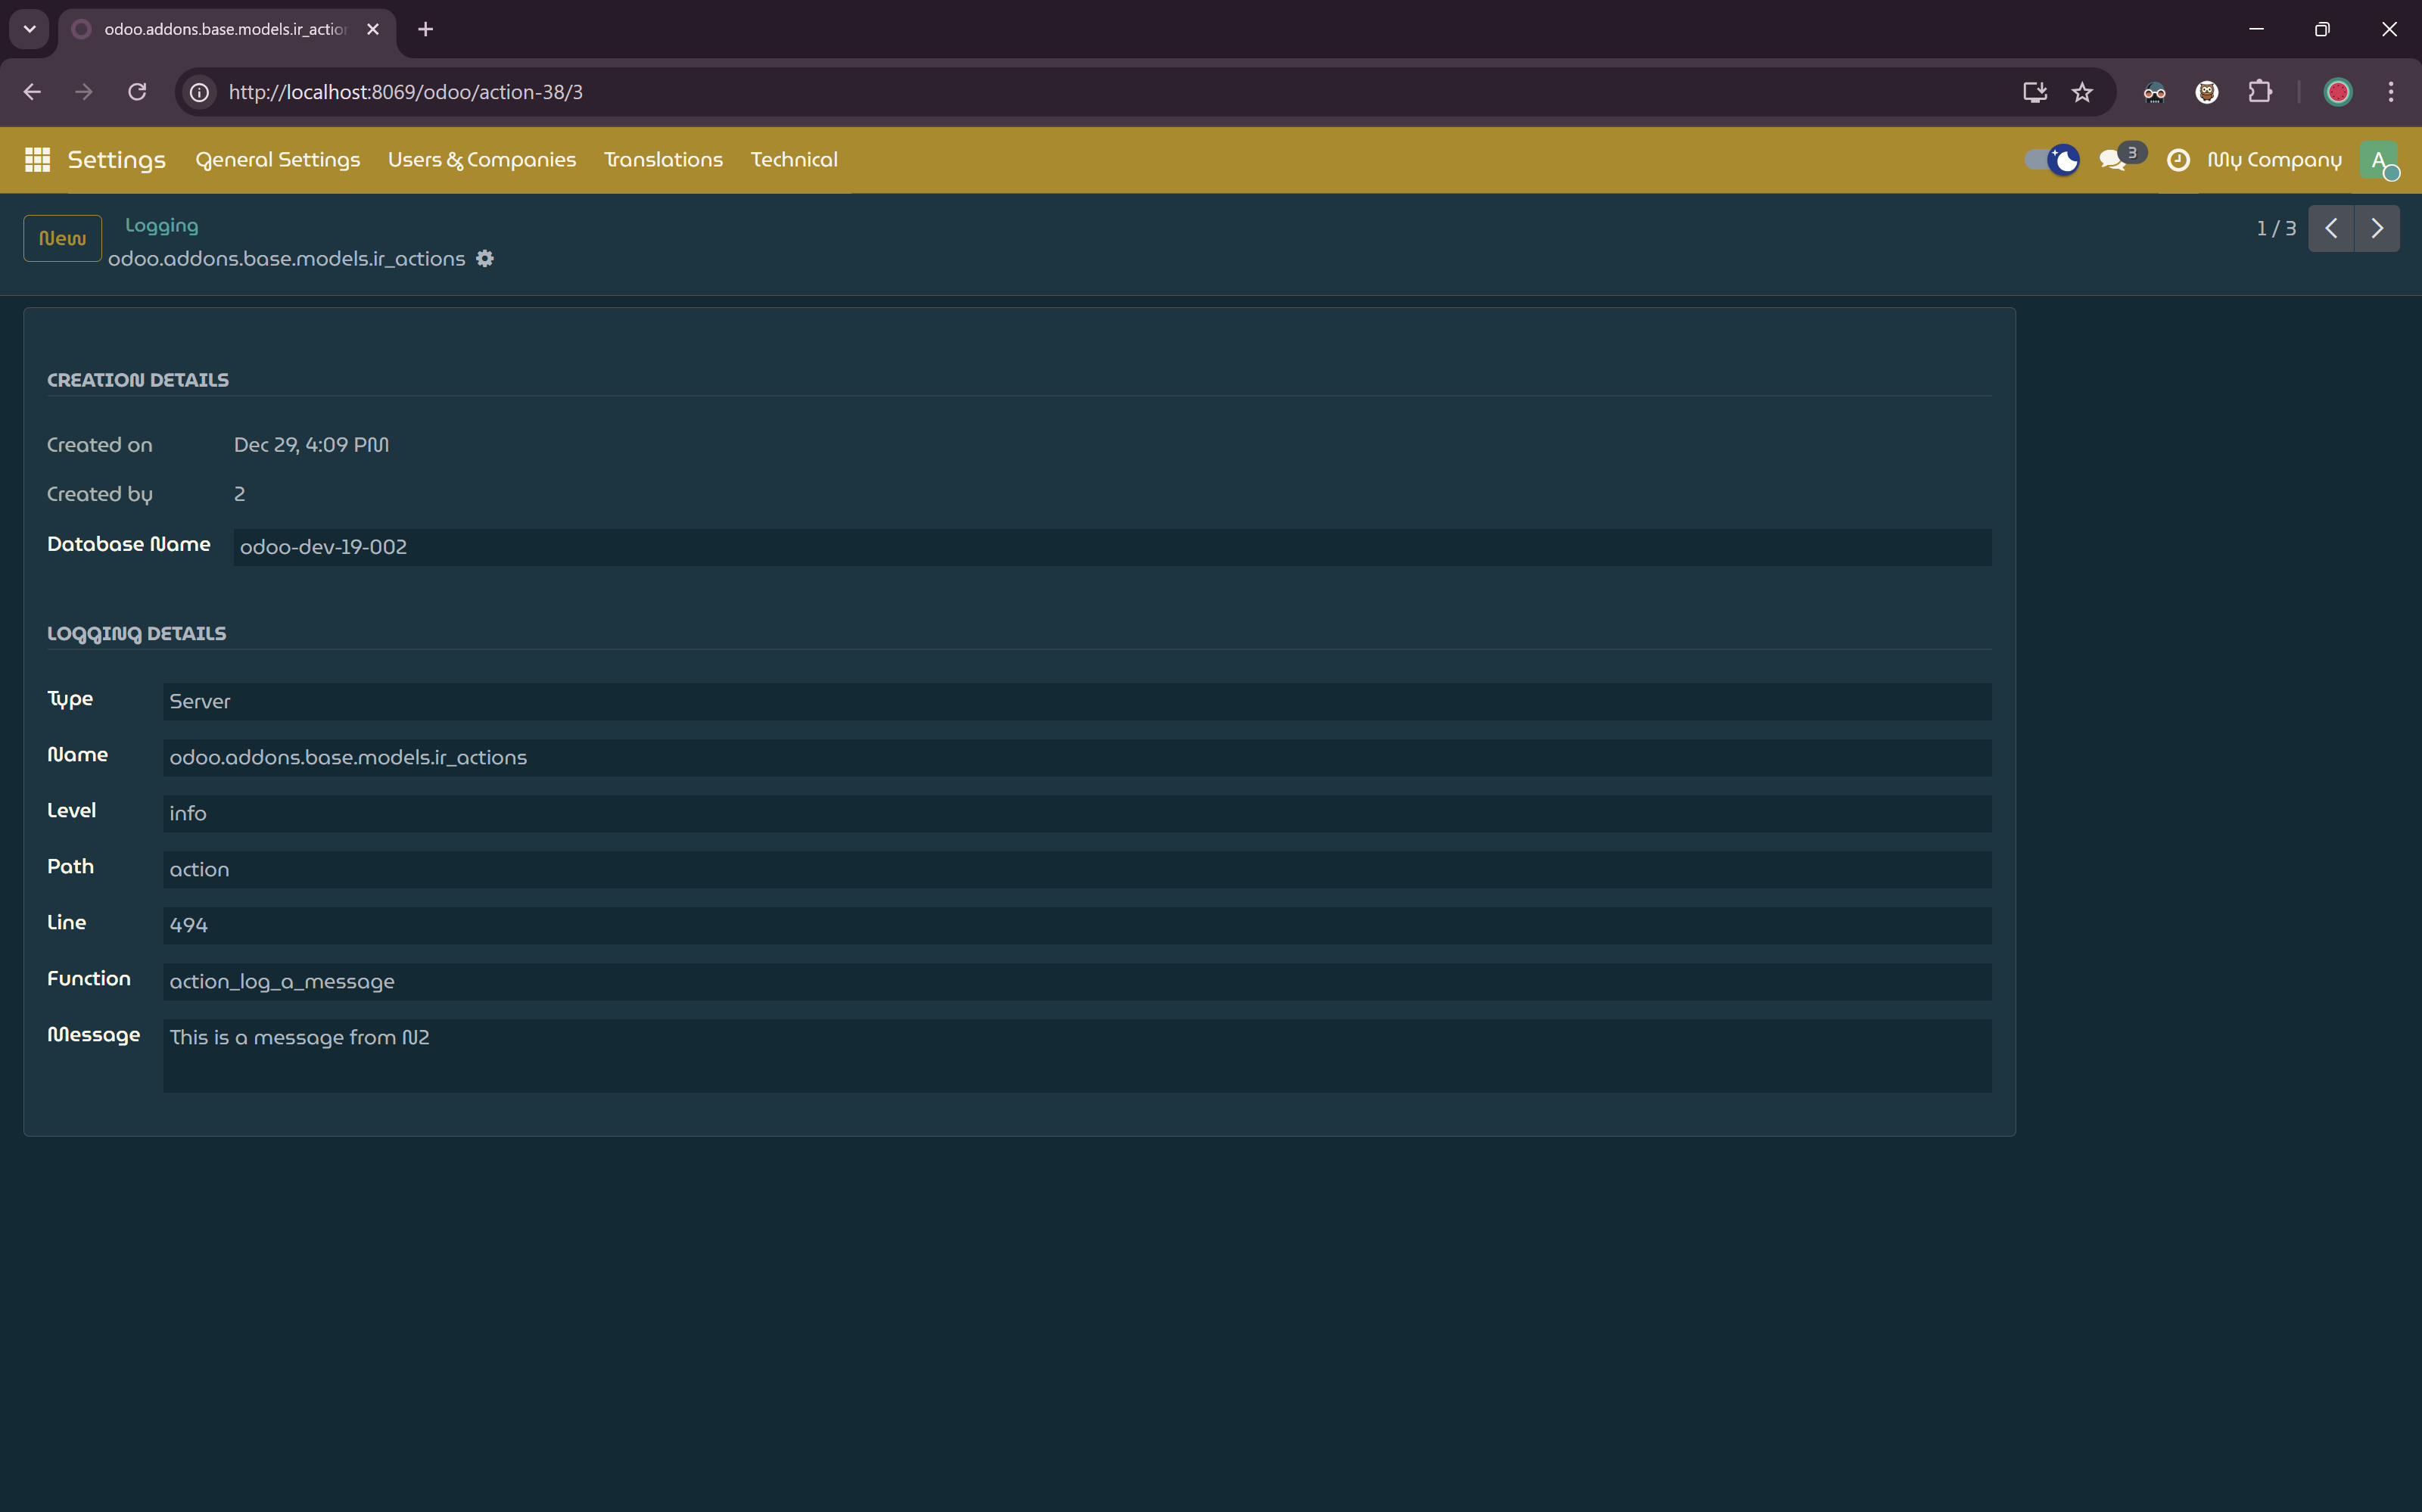
Log message from the server action.
Explanation
This tutorial demonstrates how N2 can be used to customize Odoo behavior and customize form views.
Action and Method Triggers
Action trigger and method trigger nodes allow workflows to respond to server-side actions and model methods, enabling deep customization of Odoo behavior without modifying core code.
Advanced Workflows with N2 Action module
The N2 Action module enables users to create more complex and advanced workflows by exposing server actions and model’s method. Users can respond server action and models method using the OnActionTriggerNode and OnMethodTriggerNode.
And as demonstrated earlier, users can also create custom header for form views. This is useful to create features such as multi-level approvals. Visit Odoo Development Tutorial: N2 AI Nodes + Creating Multilevel Approval with N2. to watch how to create multi-level approval with N2 Action module.
Next Steps
Now that you understand how to control model actions using the N2 Action module, you can explore more advanced automation patterns:
- Learn how to combine action triggers with data retrieval in the Data Nodes tutorial.
- Use AI-powered workflows to make decisions based on action context in the AI Integration tutorial.
- Build interactive user experiences by combining action nodes with conversational workflows in the AI Chat tutorial.
- Explore advanced approval flows and conditional execution using
OnMethodTriggerNodeand custom form headers.