AI Integration
Prerequisites
The N2 Core modules, N2 AI module and the N2 Messaging module must be installed.
If you have not installed the N2 modules yet, please refer to the Quick Start guide.
Complete the Simple Workflow tutorial.
Please refer to the Simple Workflow tutorial to understand the basics for creating N2 workflow.
This tutorial uses LM Studio for the AI backend
If you’re using other AI backend, please adjust accordingly.
Preparation
AI models must be registered before using N2 AI module:
- Select N2 on Odoo main menu
- Select AI Models from the configuration menu
- Add new record by clicking New button.
- Enter the exact model name as listed on LM Studio on the Model Name field.
- Enter description or you can just copy the model name to the Description field.
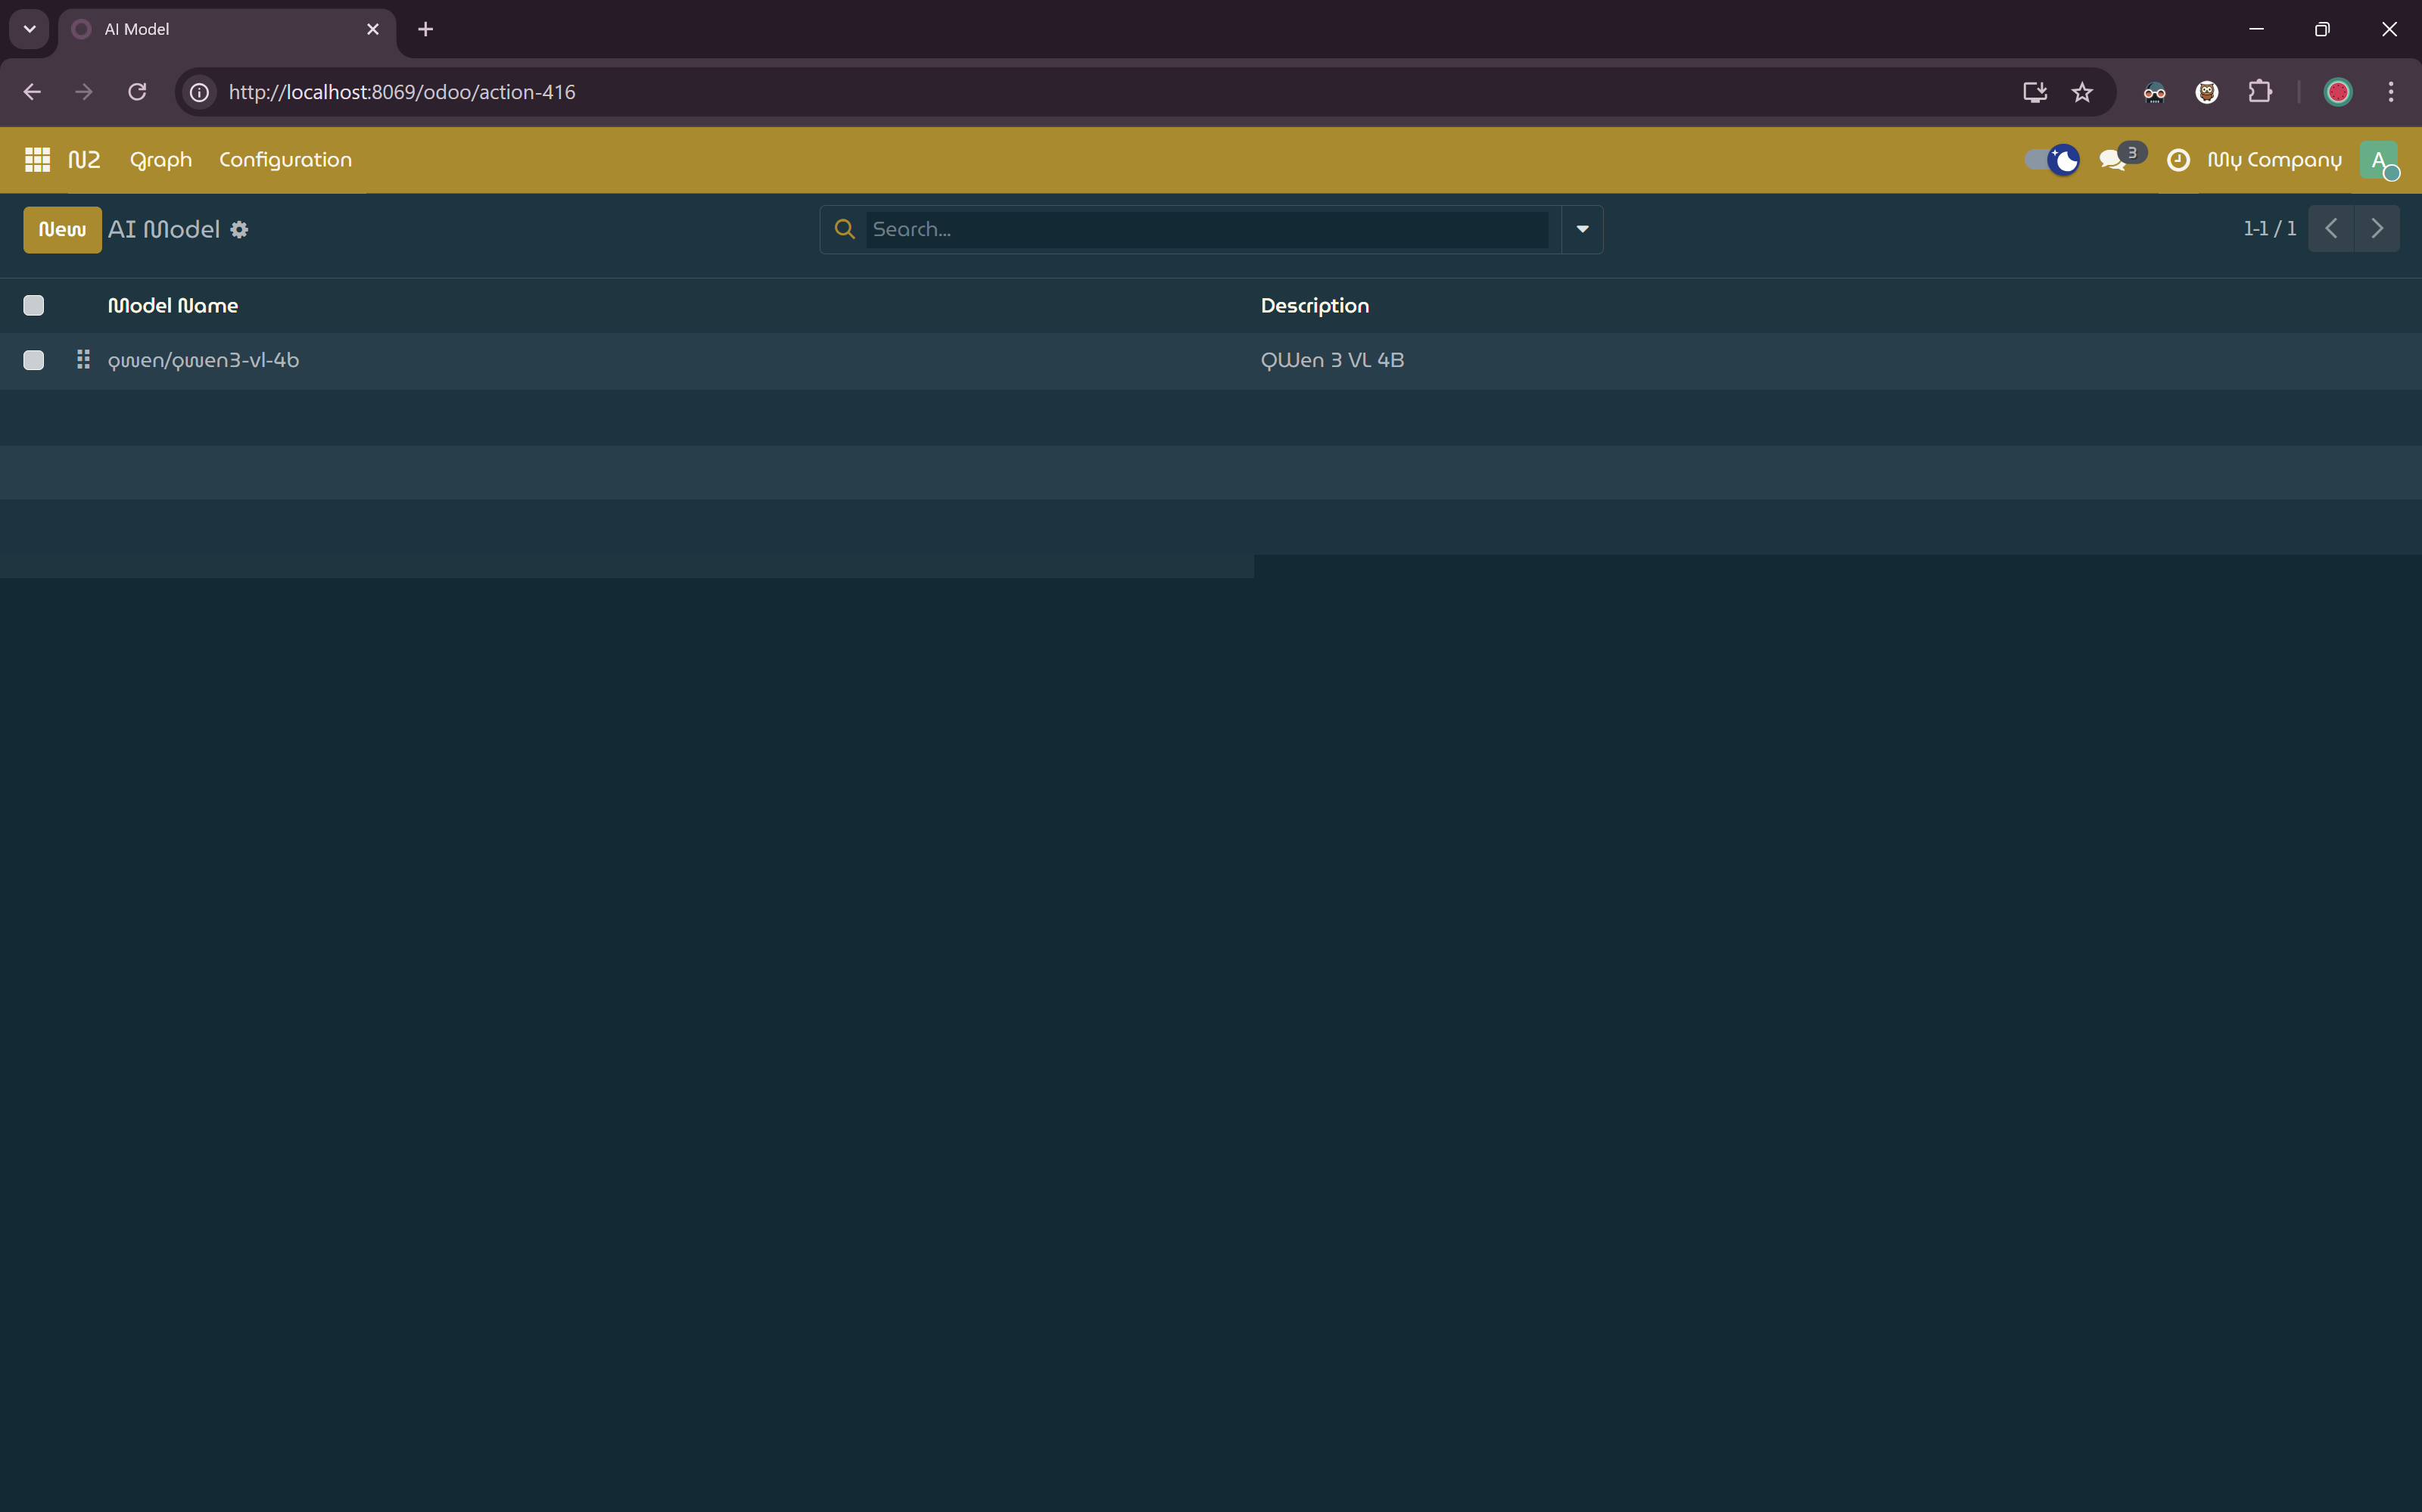
AI Model Registration.
Creating AI Workflow
In this section, you will create a simple workflow with AI nodes to generate a simple text. Similar with the Simple Workflow tutorial, we will display a message to the user using NotifyNode as a visual cue to indicate that the workflow is working correctly.
- Create a new graph.
- Add
StartNode,AiAgentNode,AiClientNode,NotifyNodeand connect this nodes. - Paste the following to the
Parametersinput dialog of theStartNode: - Paste the following to the
Promptinput dialog of theAiAgentNode: - Configure the
AiClientNodeby selecting AI model registered earlier. - Paste the following to the
Templateinput dialog of theNotifyNode: - Save, process and run the graph. A notification showing the AI response should be displayed.

Ai Response.
Explanation
sequenceDiagram
    participant User as User
    participant Workflow as Workflow Engine
    participant Start as StartNode
    participant AiAgent as AiAgentNode
    participant AiClient as AiClientNode
    participant Notify as NotifyNode

    User->>Workflow: Run workflow
    Workflow->>Start: Initialize context with start_params
    Start->>AiAgent: Pass prompt input
    AiAgent->>AiClient: Send prompt to AI model
    AiClient->>AiAgent: Receive AI response
    AiAgent->>Notify: Provide result
    Notify->>User: Display AI response
This tutorial demonstrates how AI nodes can be used to generate text and pass the result to downstream nodes within a workflow.
Generating Prompts with AiAgentNode
The AiAgentNode prepares the prompt that will be sent to the AI backend.
It evaluates a template using values from the workflow context and produces a prompt string.
In this example the prompt is built using the my_message parameter provided by the StartNode.
Sending Requests with AiClientNode
The AiClientNode sends the prepared prompt to the configured AI model. It acts as the execution layer for AI requests and returns the model’s response.
The response from the AI backend is exposed as the result parameter
Displaying Results with NotifyNode
In this tutorial, the NotifyNode renders the AI-generated output using the result parameter produced by the AiClientNode and displays it as a notification.
Next Steps
This example demonstrates basic AI integration and parameter passing within a workflow. By combining AI nodes with trigger nodes and data nodes, you can build more advanced automations such as:
- Generating AI responses based on database records
- Automating actions using AI-generated content
- Sending contextual notifications powered by AI output
- Use advanced AI features such as tools, MCPs, and context providers into your workflow
Refer to the documentation for additional AI nodes and configuration options to explore more advanced AI-driven workflows.