Simple Workflow
Prerequisites
The N2 Core modules and the N2 Messaging module must be installed.
If you have not installed the N2 modules yet, please refer to the Quick Start guide.
Displaying Static Message with NotifyNode
In this section, you will create a simple workflow that displays a static message using a NotifyNode. This exercise introduces the basic concepts of building workflows in N2.
Create a New Graph
From the Odoo main menu, click N2.
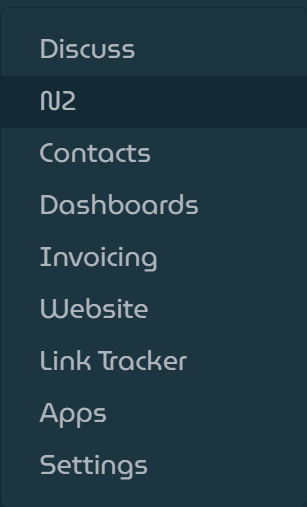
N2 menu location.
In the list view, click the Designer button in the top-left corner.

Graphs list view.
Add a
StartNode- In the left sidebar, locate the
StartNode. - You can scroll through the node list or use the search box to find it quickly.
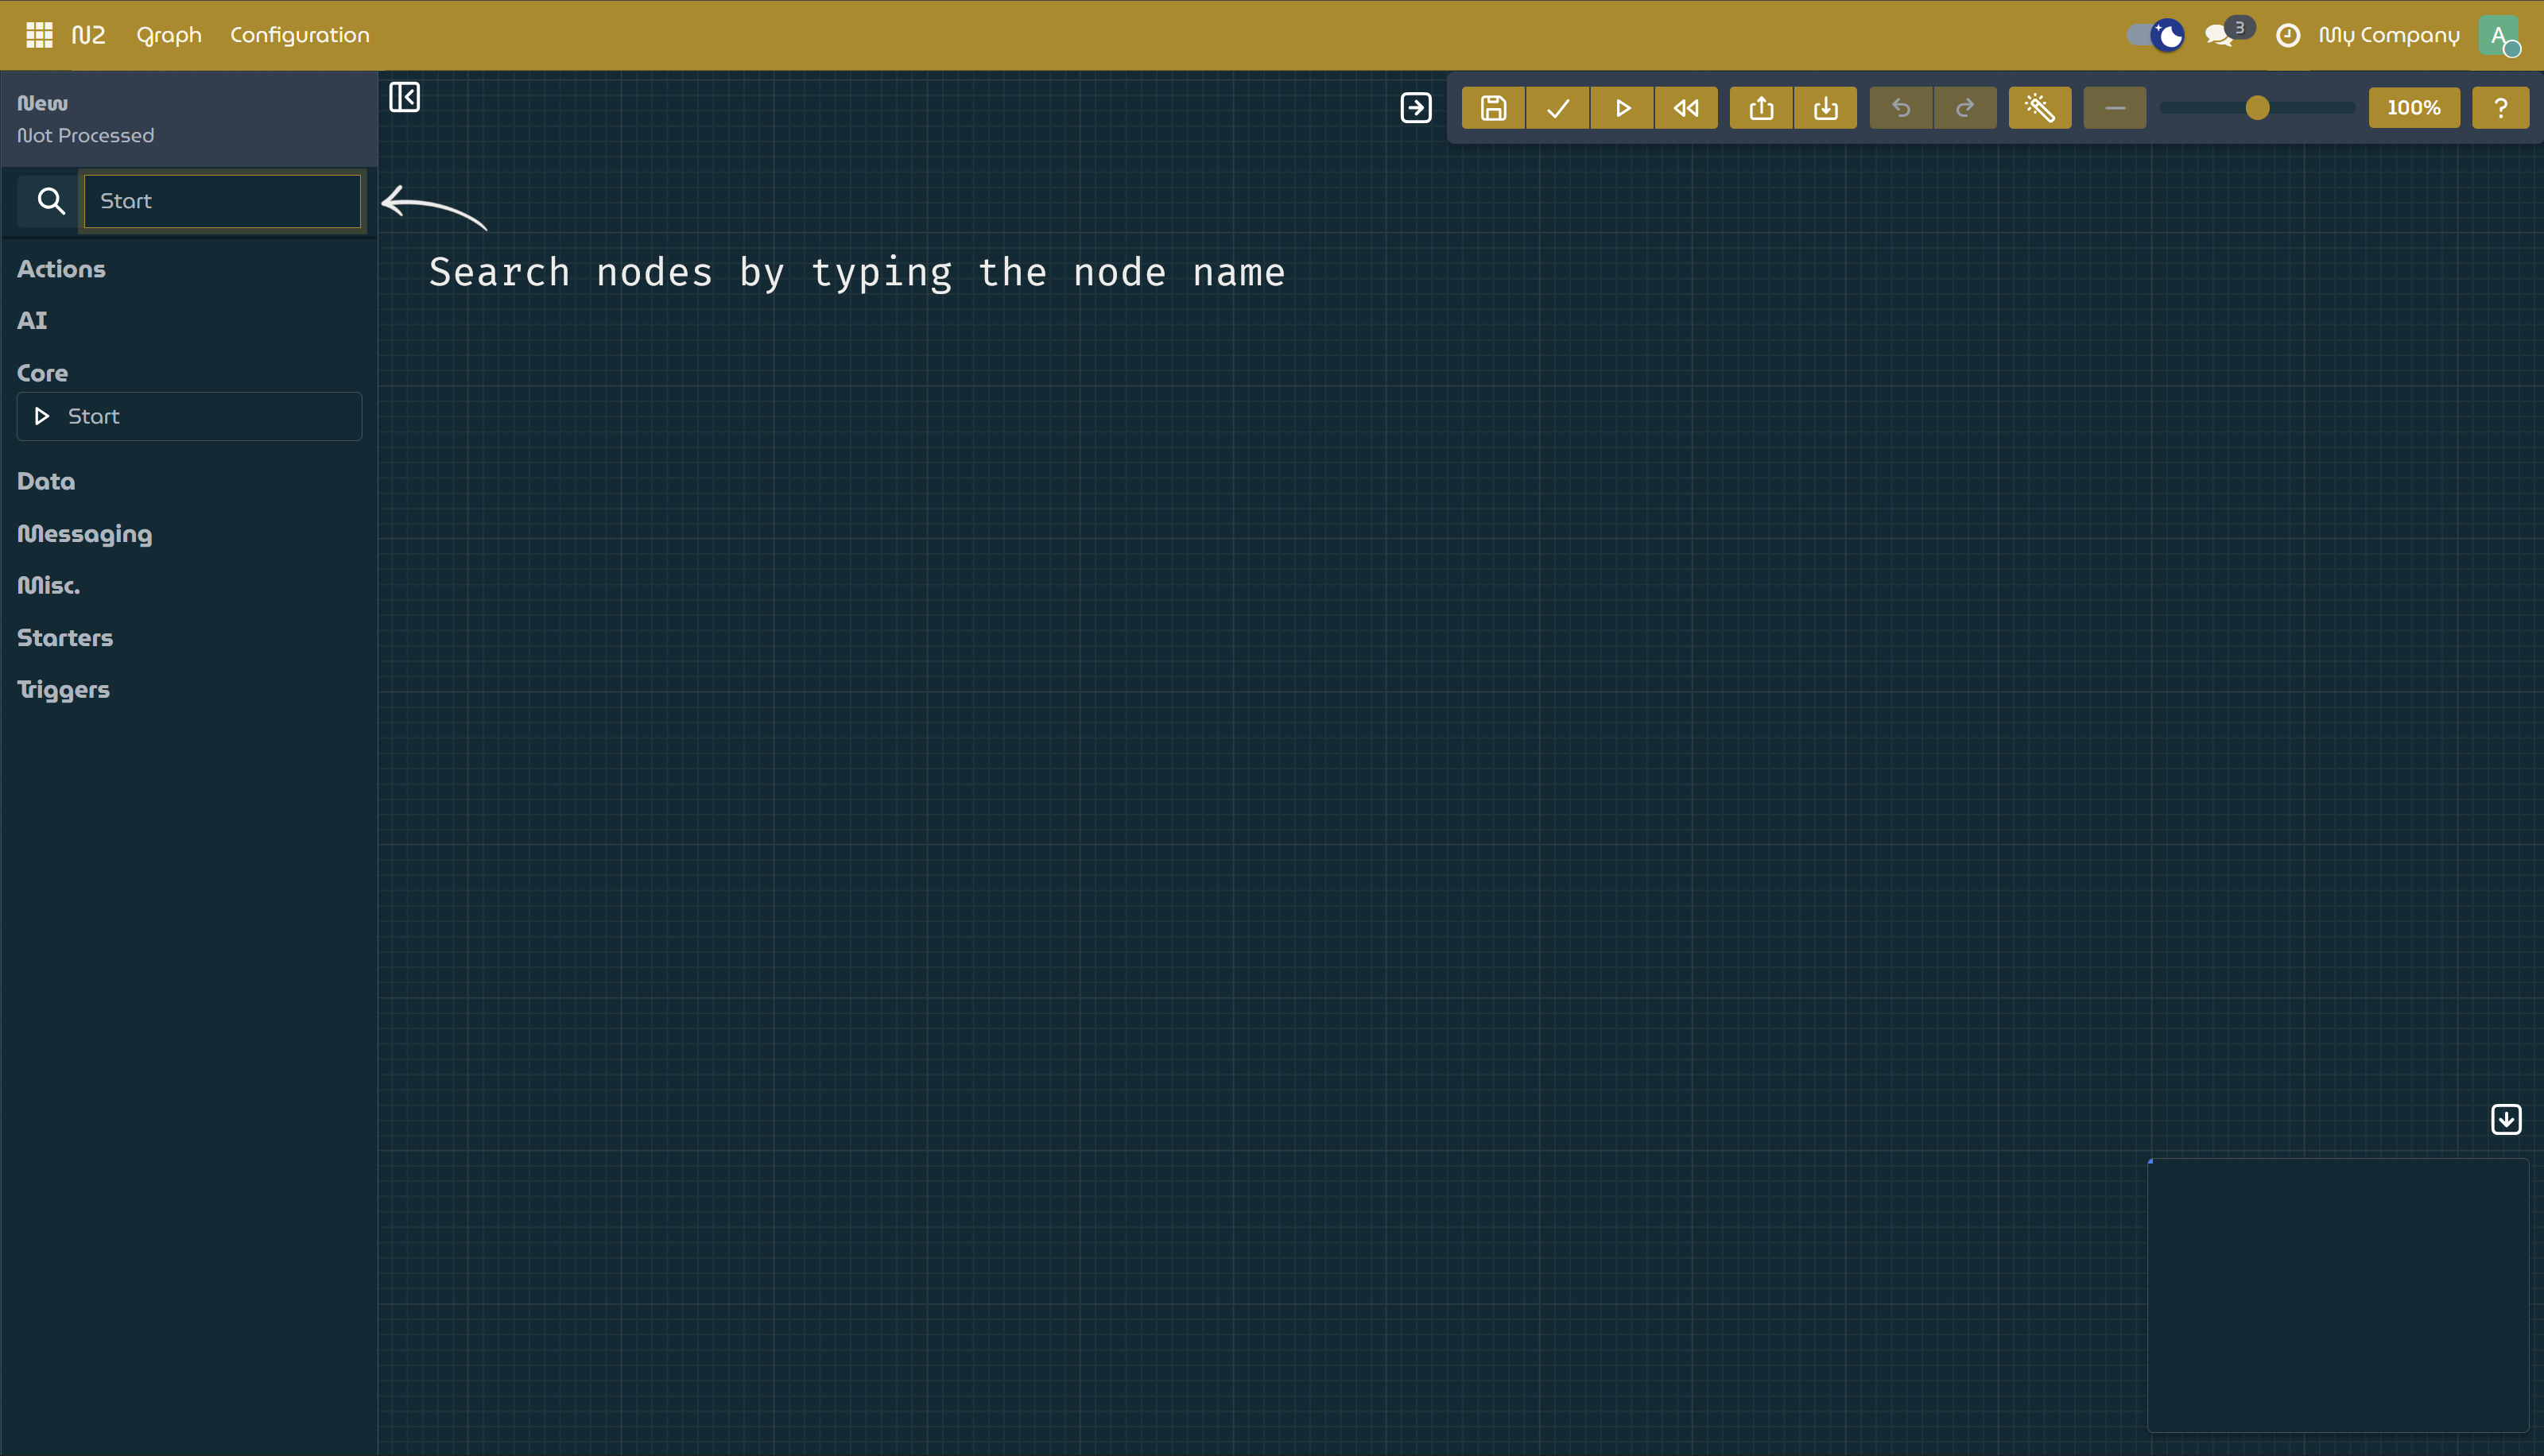
Search node by typing on the search box.
- In the left sidebar, locate the
Add a
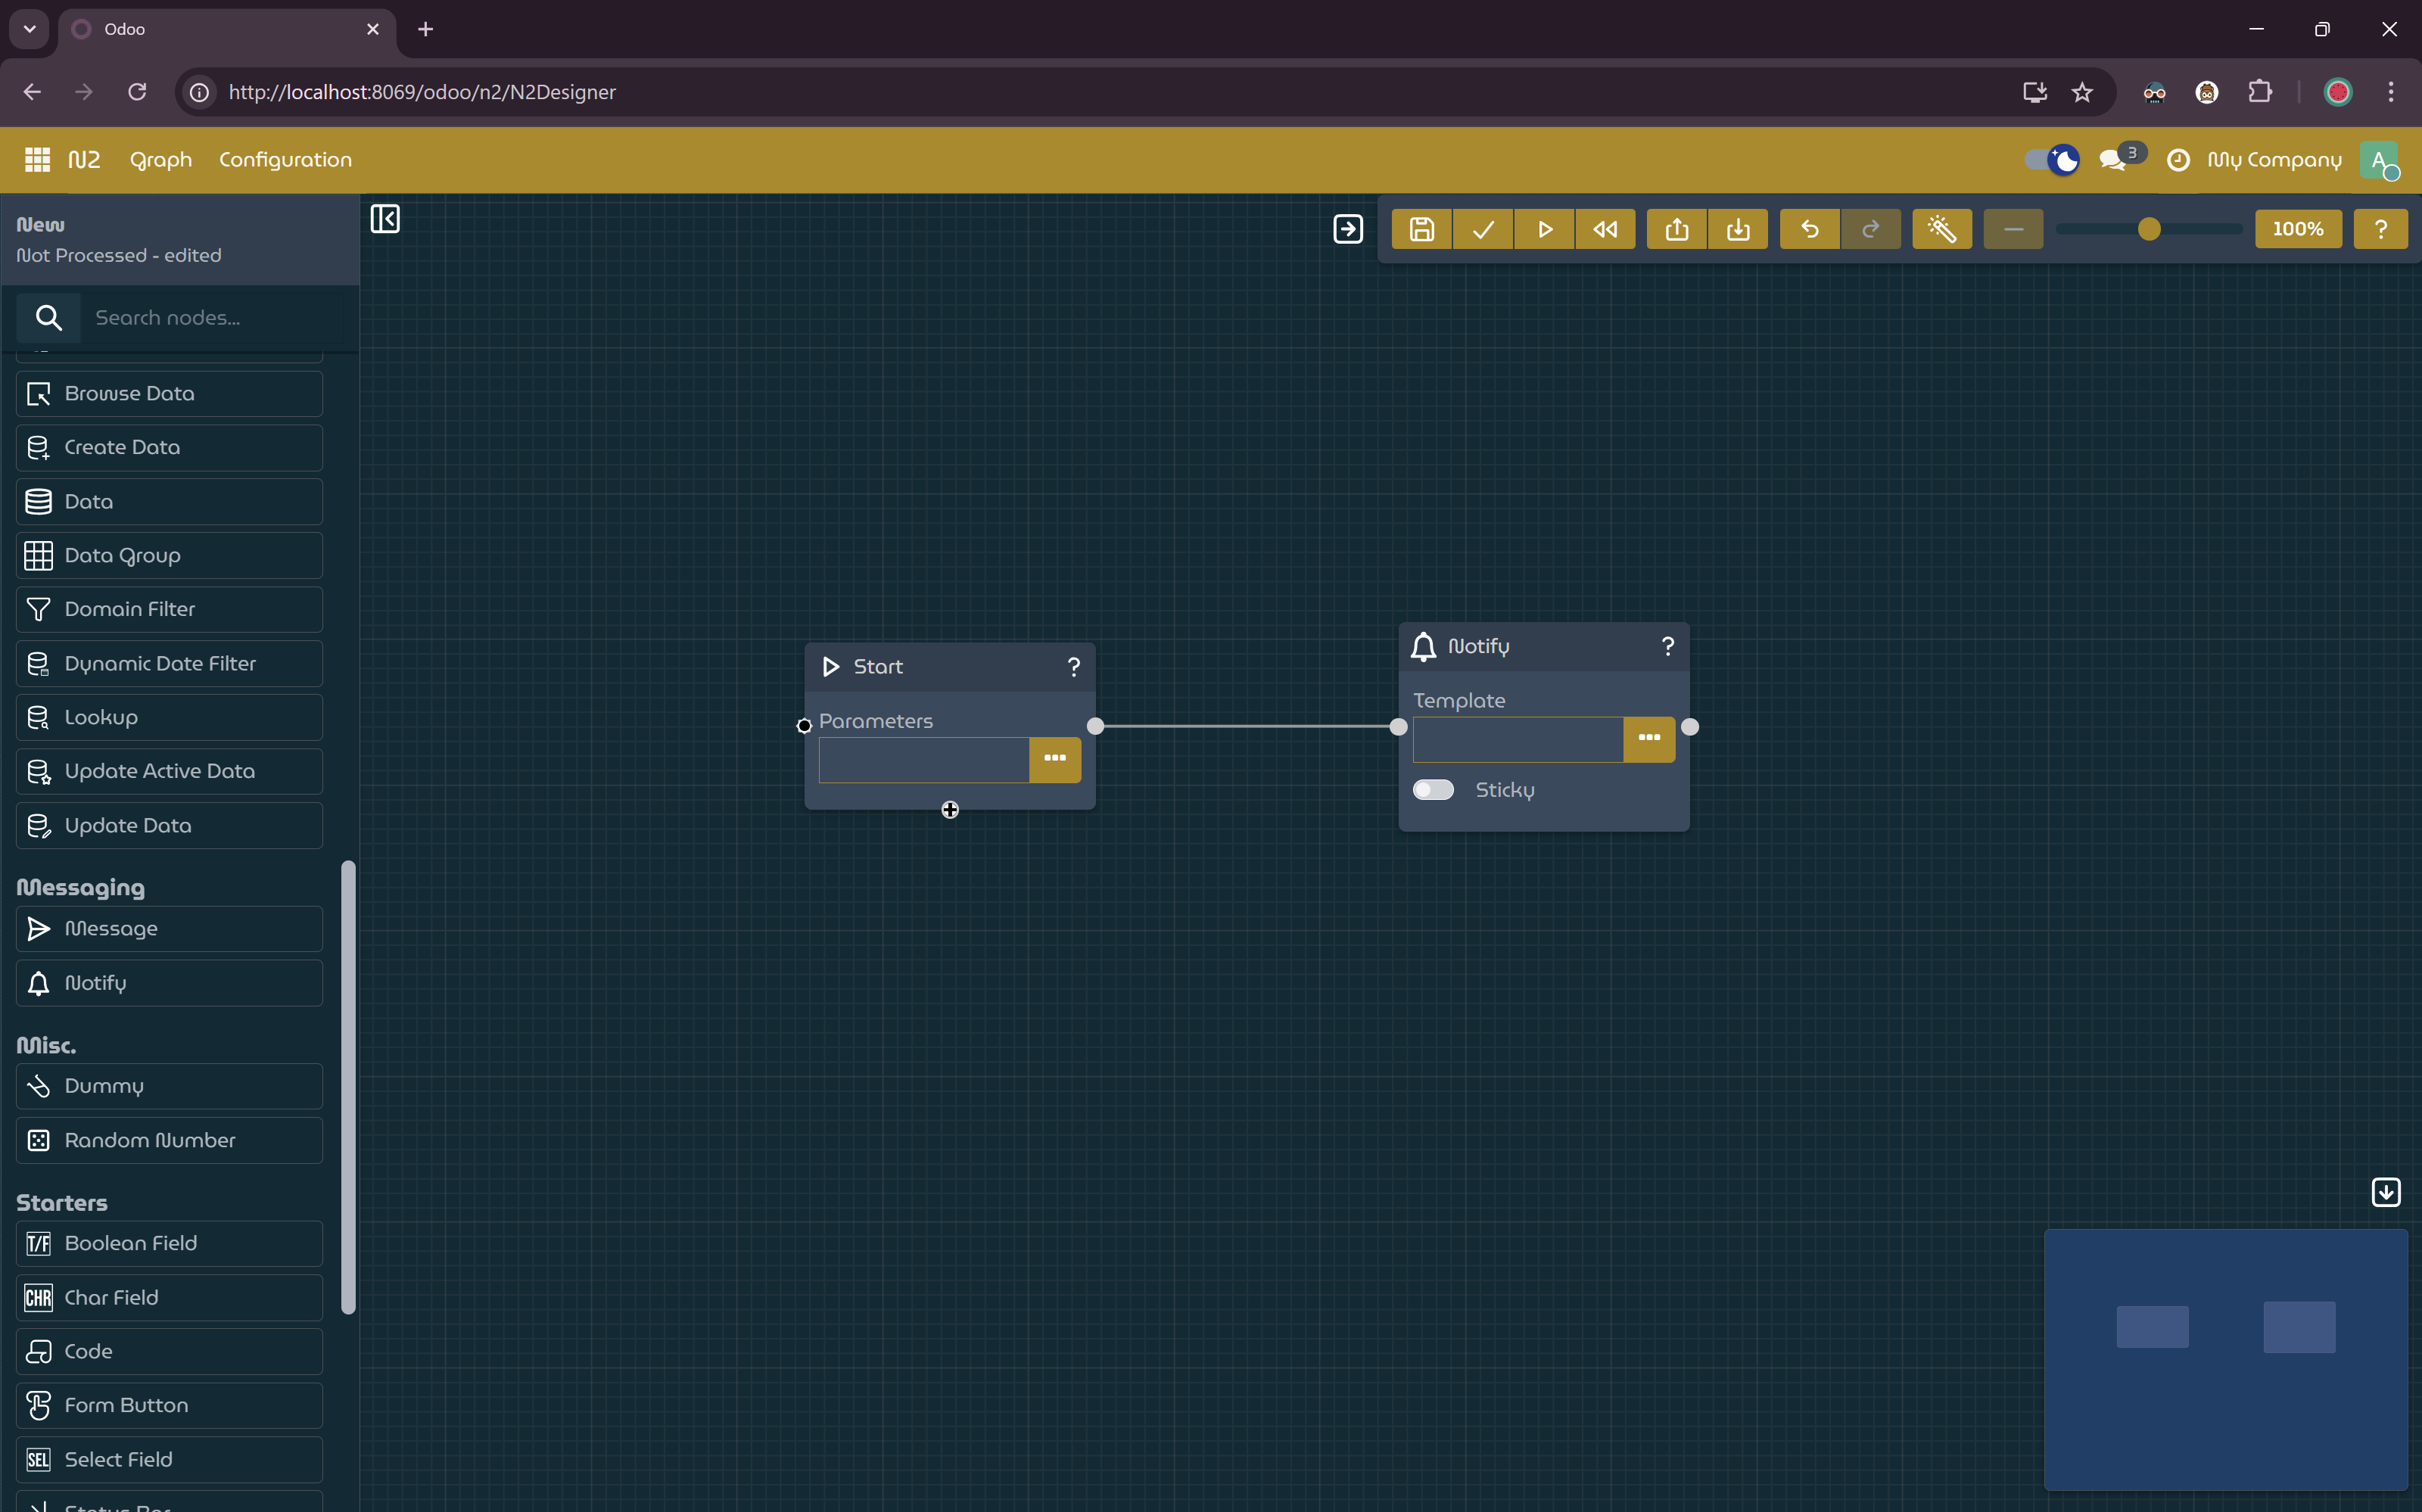
NotifyNodeand Connect the Nodes- Add a
NotifyNodeto the canvas. - Connect the
StartNodeto theNotifyNode:- Click and hold the left mouse button on the output port (right side) of the
StartNode. - Drag the connection to the input port (left side) of the
NotifyNode.
- Click and hold the left mouse button on the output port (right side) of the
StartNodeconnected to theNotifyNode.- Add a
Configure the
NotifyNode- On the
NotifyNode, click the dialog button for the Template input field. - In the input dialog, paste the following text:
- Click Apply to save the value.
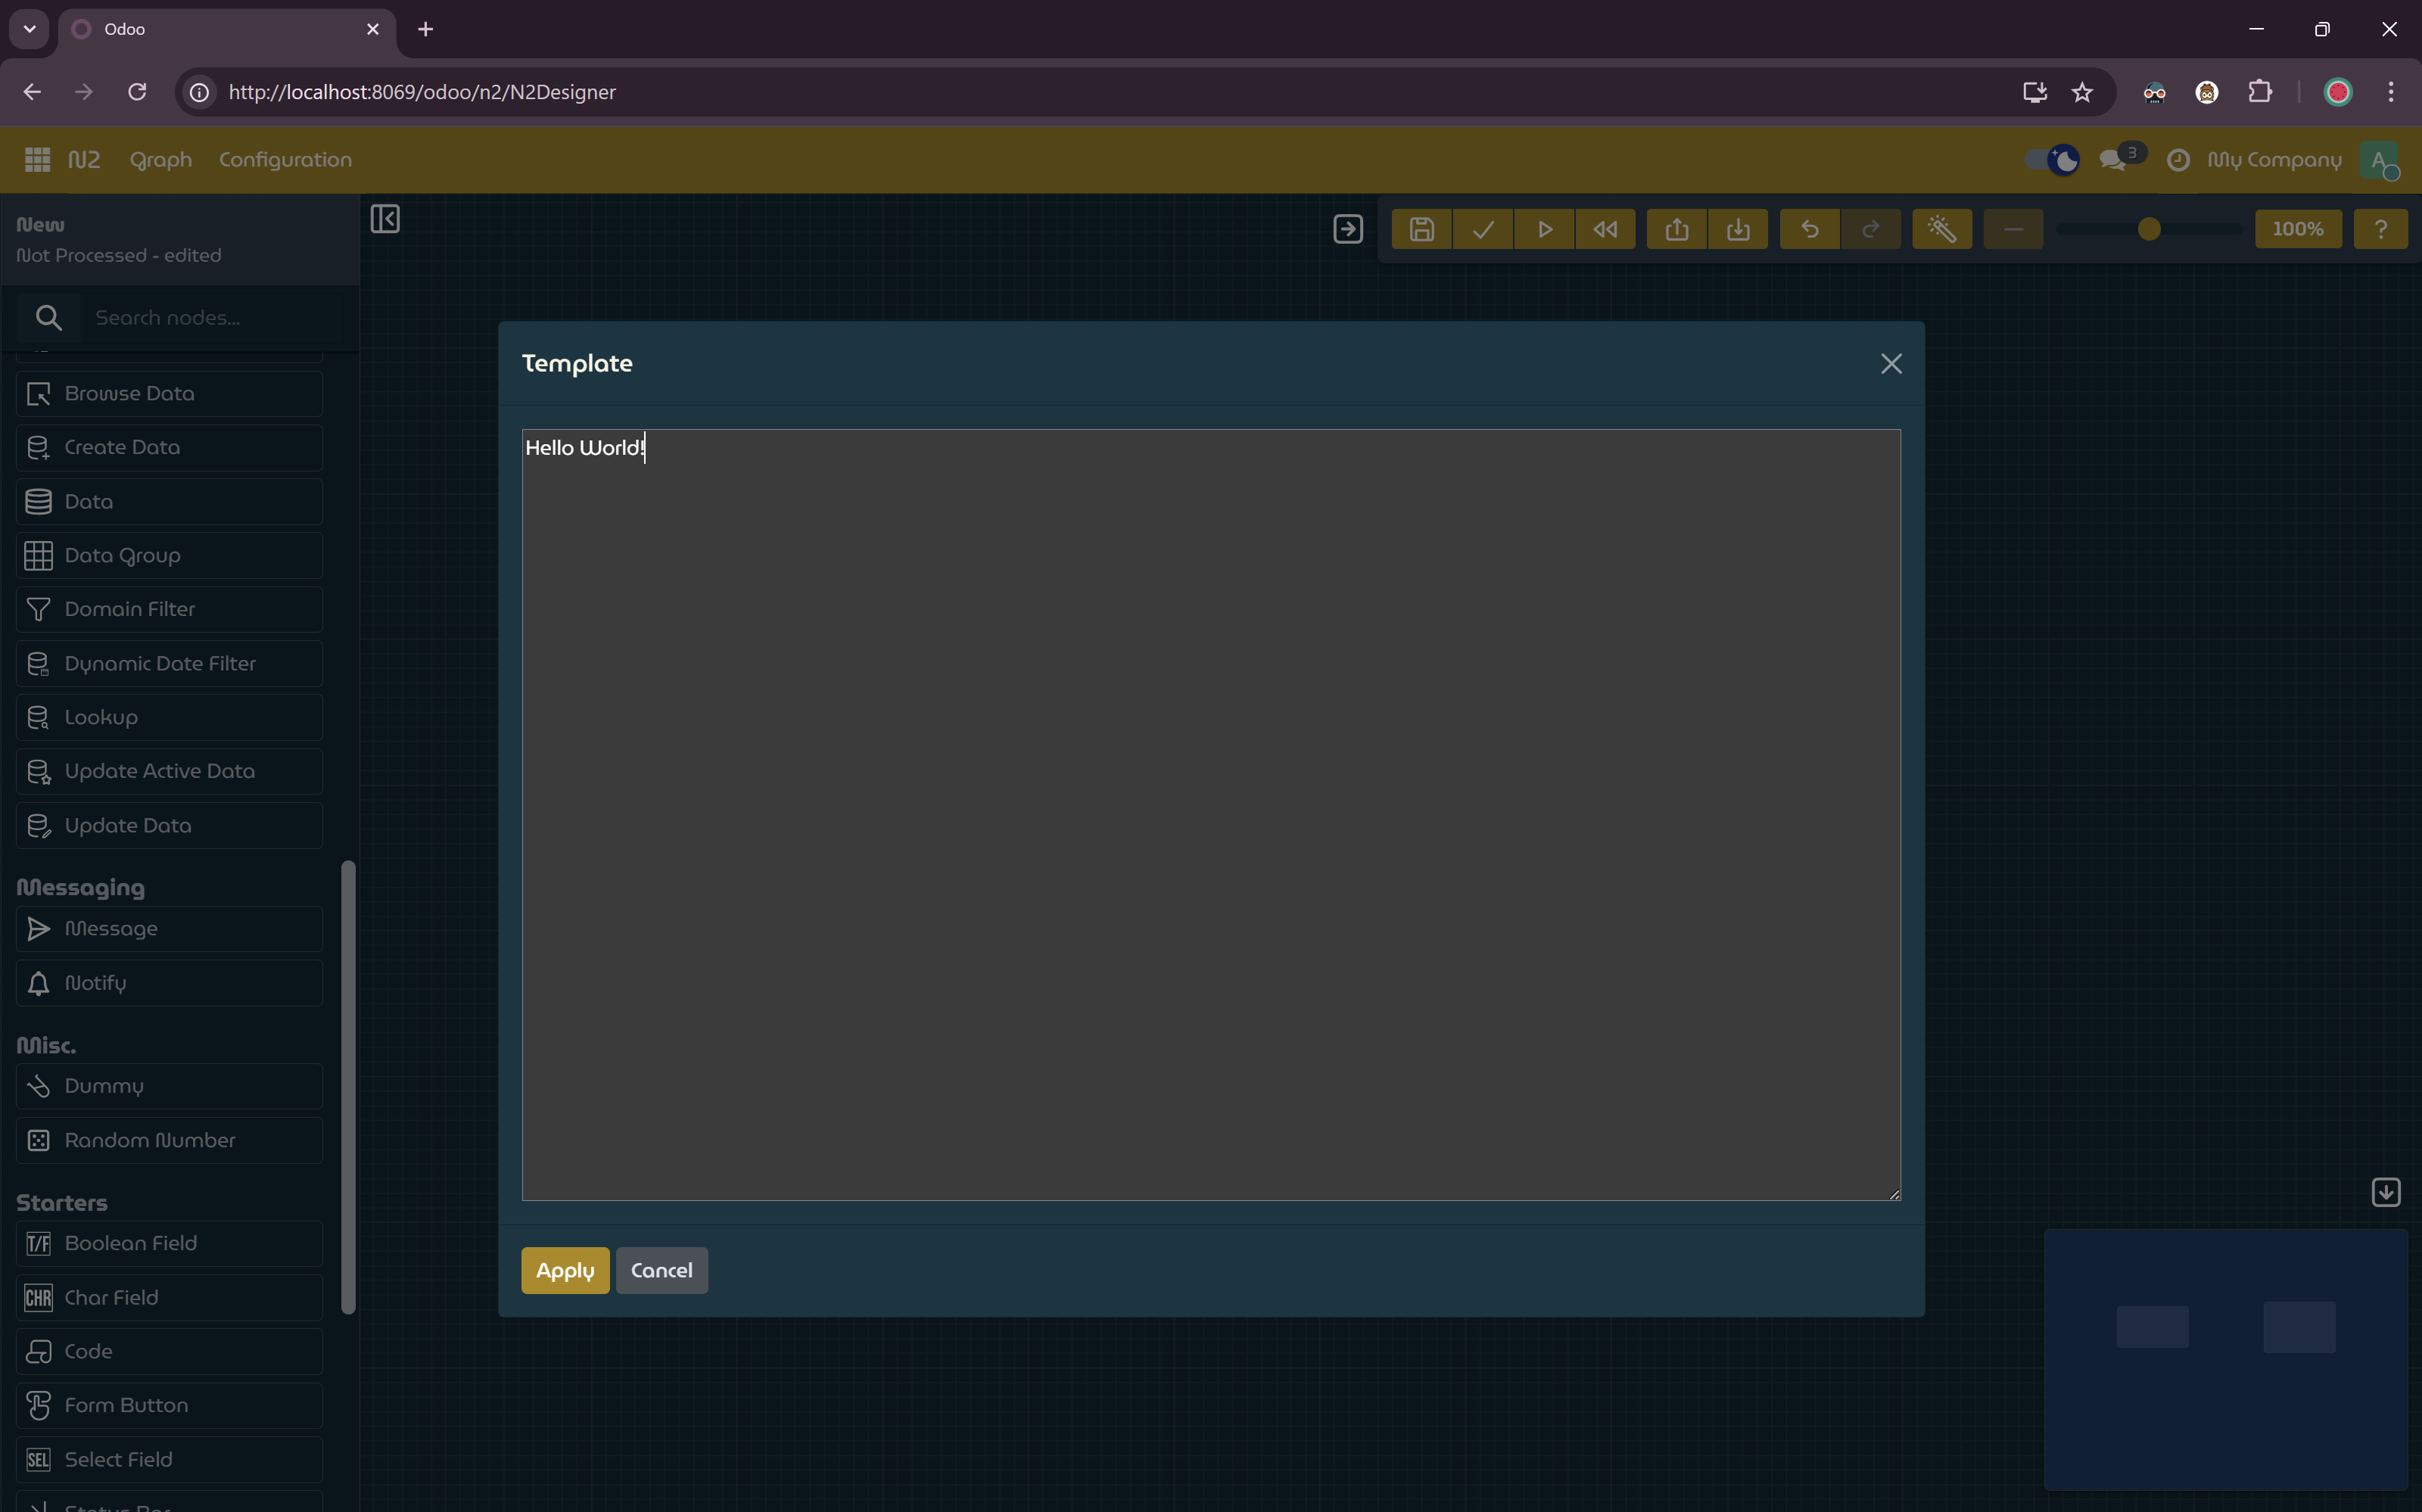
Template parameter input dialog.
- On the
Save, Process, and Run the Graph
- Click the
Savebutton on the toolbar and provide a name for the graph. - Process the graph by clicking the
Processbutton on the toolbar. - Run the workflow by clicking the
Runbutton on the toolbar.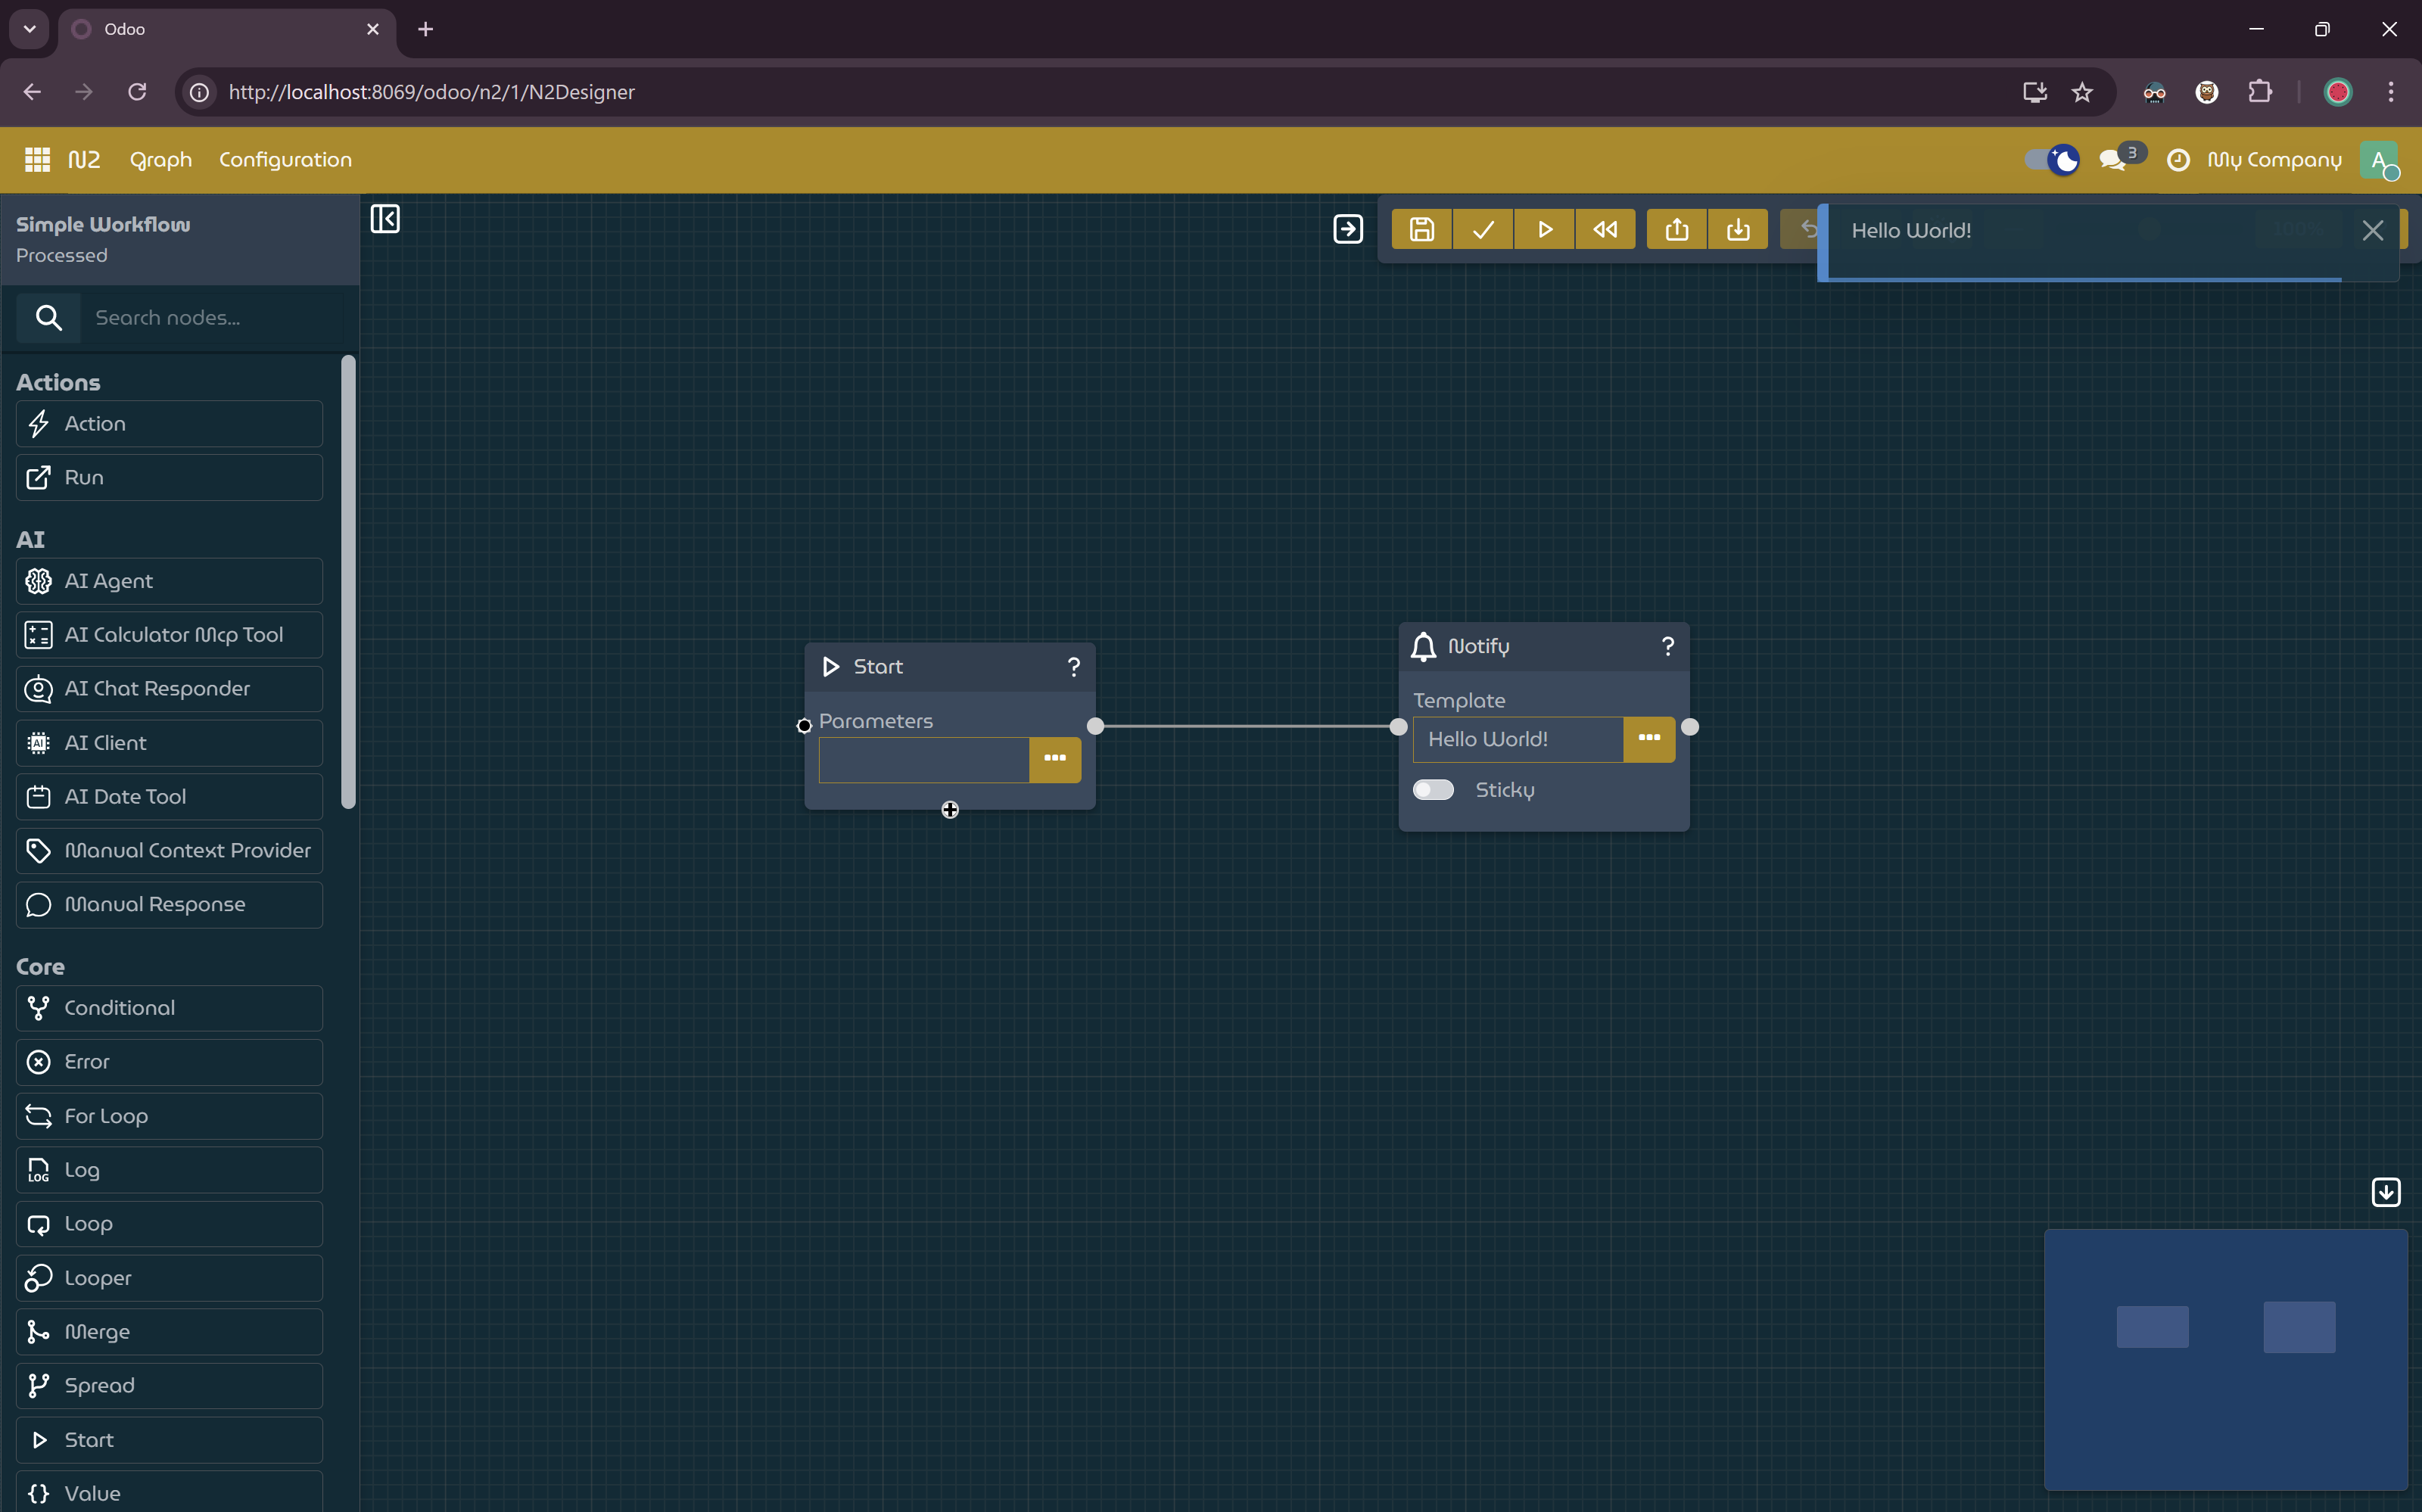
Simple workflow with
NotifyNodeto display static message.
- Click the
Displaying Dynamic Message
You can either reuse the existing graph or create a new one by following the same steps above.
- Configure the
StartNodeParameters- Open the input dialog for the Parameters field of the
StartNode. - Paste the following content:
- Open the input dialog for the Parameters field of the
- Update the
NotifyNodeTemplate- Open the input dialog for the Template field of the NotifyNode.
- Paste the following template expression:
- Save, process and run the graph.
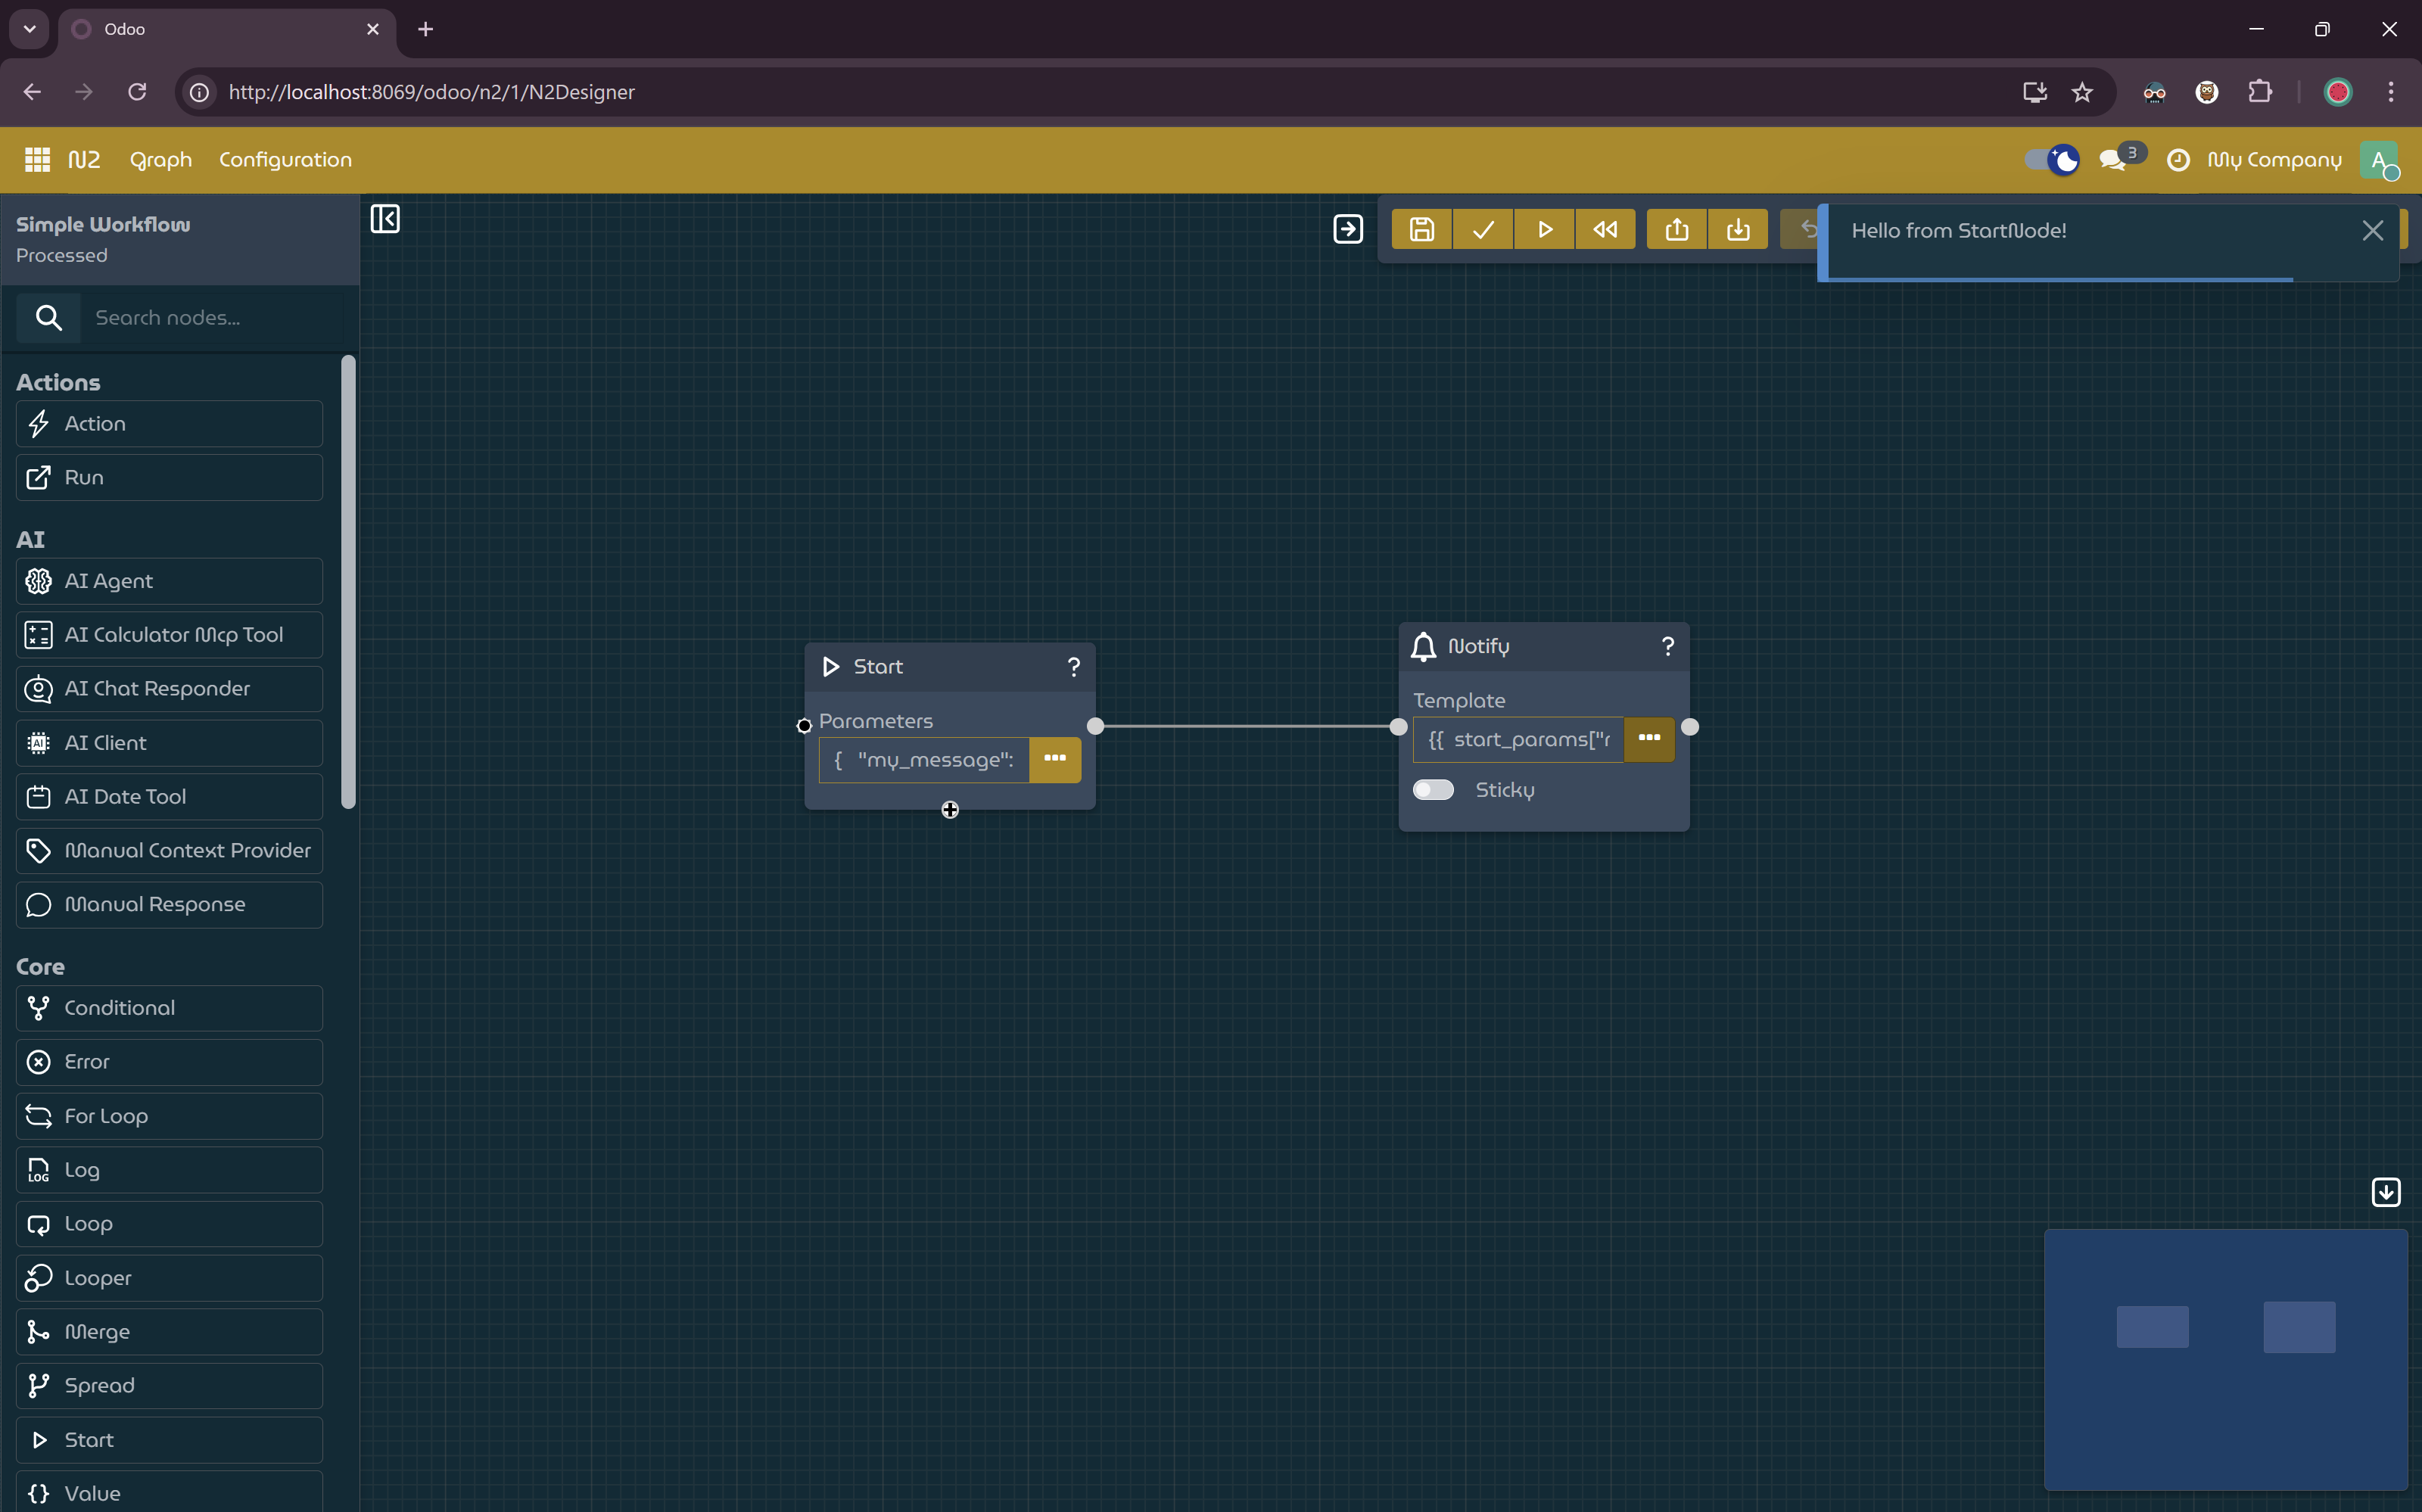
Simple workflow with dynamic message.
Explanation
sequenceDiagram
    participant User as User
    participant Start as StartNode
    participant Context as Workflow Context
    participant Notify as NotifyNode

    User->>Start: Run workflow
    Start->>Context: Inject Parameters {"my_message": "Hello from StartNode!"}
    Context->>Notify: Provide execution context
    Notify->>Notify: Evaluate Template start_params['my_message']
    Notify->>User: Display Message "Hello from StartNode!"
Workflows and Graphs in N2
In N2, a workflow is represented as a graph. A graph is composed of nodes connected by directional links (edges) that define the execution flow. When a graph is run, execution starts from the StartNode and continues through each connected node in the order defined by the graph.
Nodes as Execution Units
Each node represents a single unit of work within the workflow, such as starting execution, sending a notification, or processing data. Nodes encapsulate logic and expose parameters that allow you to configure their behavior without writing code.
Node Parameters and Types
Every node defines one or more parameters, and each parameter has a specific data type (for example, string, number, dictionary, or template). These types determine how values are entered, validated, and interpreted during workflow execution. Providing values that match the expected type is essential for successful execution.
The Role of the StartNode
The StartNode is the entry point of every workflow. It initializes the workflow execution context. The Parameters field of the StartNode accepts a dictionary of values, which are injected into the workflow context as start_params.
Note
This example shows one way data can be provided to nodes. In general, nodes can also communicate through their outputs and connections (edges). How data flows between nodes depends on the node’s design.
Workflow Execution Context
During execution, N2 maintains a shared context dictionary that stores data accessible to all nodes. Nodes that support templating or dynamic expressions can read from this context. The start_params object is part of this context and demonstrates how initial parameters flow through the workflow.
Node Communication via Connections
In addition to the execution context, nodes communicate via the edges (connections) in the graph. The output produced by a node can be passed as input to the next connected node. This mechanism allows workflows to pass data dynamically from one node to another, enabling more complex and data-driven processes.
The NotifyNode and Message Rendering
The NotifyNode displays a message to the current user. Its Template parameter supports:
- Static content (e.g.,
Hello World!) - Dynamic content (evaluated from the workflow context, e.g.,
{{ start_params["my_message"] }})
This shows how a downstream node can render dynamic messages based on data provided by upstream nodes, either from the context or from the previous node’s outputs.
Templating and Dynamic Messages
Template expressions allow values from the execution context or upstream nodes to be inserted into the node’s behavior dynamically. This makes workflows reusable and flexible because node behavior can change depending on the data provided during execution.
Processing vs. Running a Graph
- Processing a graph validates the structure, parameters, and connections, preparing it for execution.
- Running a graph executes the workflow using the processed definition.
Separating these steps ensures predictable behavior and helps catch configuration errors before runtime.
Next Steps
While this tutorial demonstrates a minimal workflow, the same principles apply to more complex graphs. By combining multiple nodes and passing data through both parameters and connections, you can build sophisticated, data-driven workflows. Always refer to individual node documentation for details on available parameters, outputs, and supported template variables.